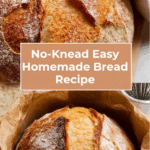
The Easiest Bread in the Entire World Recipe
Introduction
This is the easiest bread recipe you’ll ever try, requiring no kneading and minimal effort. With just a few simple ingredients and patience, you can enjoy a warm, crusty loaf straight from your oven. Perfect for beginners or anyone craving homemade bread without the fuss.
Ingredients
- 6 cups of bread flour
- 2 packets of rapid-rise yeast
- 1 tablespoon of salt
- 3 cups of warm water (around 100 degrees)
Instructions
- Step 1: In a very large bowl, combine the bread flour, rapid-rise yeast, and salt. Add the warm water and stir with a spoon until the mixture forms a rough ball. Avoid kneading to prevent overmixing.
- Step 2: Cover the bowl with plastic wrap and let the dough rise at room temperature for at least 3 hours or up to 2 days until it has doubled in size.
- Step 3: When ready to bake, preheat your oven to 400°F (200°C) and place a Dutch oven inside to heat for at least 30 minutes.
- Step 4: Lightly flour your counter and gently shape the dough into a ball without kneading. Place the dough ball on a piece of parchment paper.
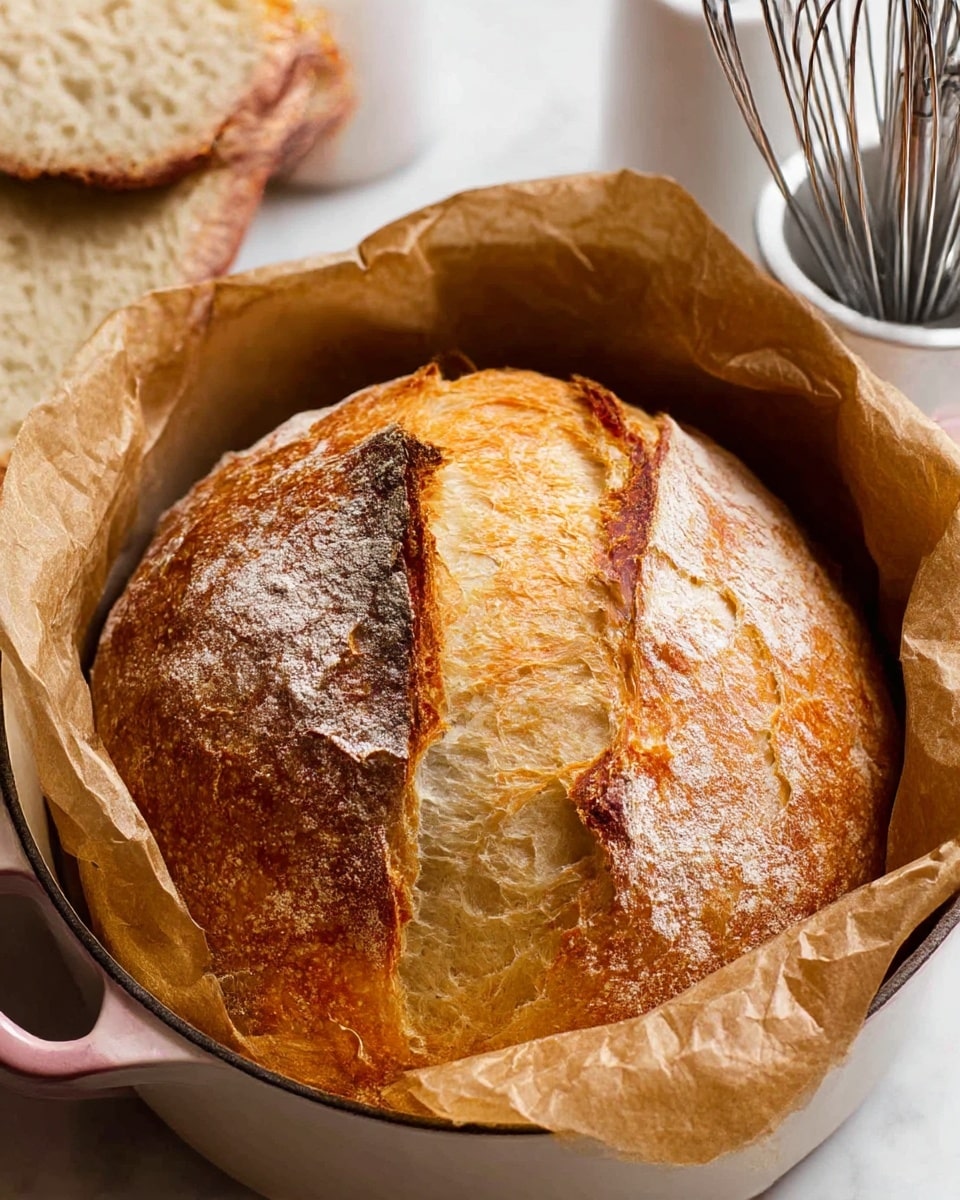
- Step 5: Carefully remove the hot Dutch oven from the oven, take off the lid, and transfer the parchment with the dough into the Dutch oven. Cover with the lid and return it to the oven.
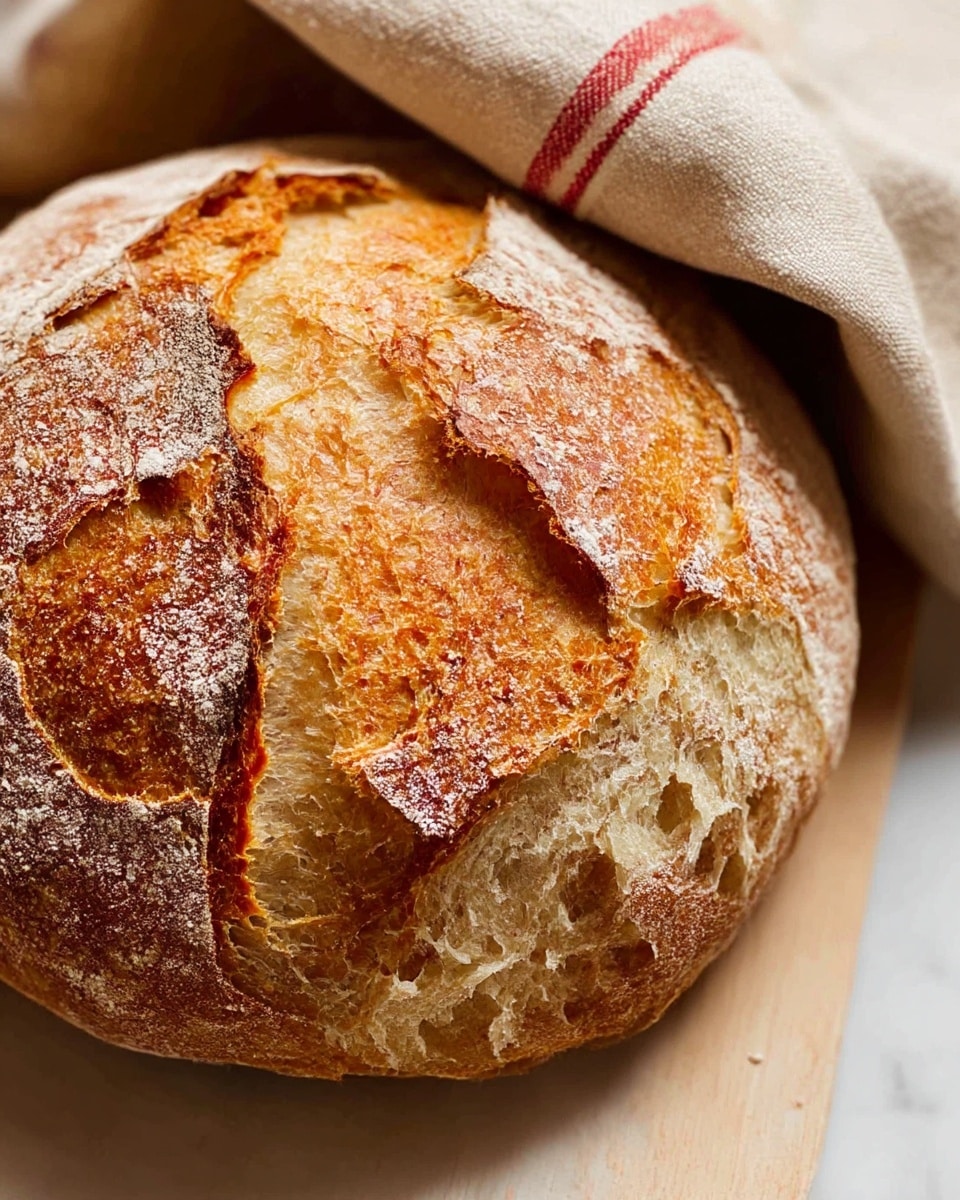
- Step 6: Bake for 1 hour at 400°F. After an hour, remove the lid and bake uncovered for another 20 minutes or until the crust reaches your desired golden-brown color.
- Step 7: Optionally, place a stainless steel bowl with water on the bottom rack of the oven while baking to create steam for a crispier crust.
- Step 8: Remove the bread from the oven and let it cool before slicing. Enjoy your homemade bread!
Tips & Variations
- For added flavor, try mixing in a tablespoon of honey or herbs into the dough before rising.
- If you don’t have a Dutch oven, use a heavy pot or any oven-safe baking dish with a lid.
- Letting the dough rise longer (up to 2 days) in the refrigerator develops deeper flavor.
- Use all-purpose flour if you don’t have bread flour, but the texture might be slightly different.
Storage
Store the bread wrapped in a clean kitchen towel or in a paper bag at room temperature for up to 3 days. For longer storage, slice and freeze in a sealed bag for up to 3 months. To refresh, warm slices in a toaster or oven.
How to Serve
Serve this delicious recipe with your favorite sides.
FAQs
Do I need to knead the dough?
No, this recipe is designed to avoid kneading. Mixing and gentle shaping are enough to develop the gluten for a soft interior and crisp crust.
Can I use instant yeast instead of rapid-rise yeast?
Yes, you can substitute instant yeast with the same quantity. The rising times may vary slightly, so keep an eye on the dough’s size rather than the clock.
PrintThe Easiest Bread in the Entire World Recipe

This recipe for the easiest bread in the entire world yields a simple, no-knead artisan-style loaf with a crusty exterior and tender crumb. By using rapid-rise yeast and letting the dough rise slowly without kneading, you create a flavorful and rustic bread at home using just a few ingredients. Baking in a preheated Dutch oven produces a perfectly baked loaf with a crisp crust, ideal for any bread lover looking for an effortless baking experience.
- Prep Time: 10 minutes
- Cook Time: 1 hour 20 minutes
- Total Time: 3 hours 30 minutes (minimum, includes rising time)
- Yield: 1 large loaf (about 12–16 servings) 1x
- Category: Bread
- Method: Baking
- Cuisine: American
- Diet: Vegetarian
Ingredients
Dry Ingredients
- 6 cups bread flour
- 2 packets rapid-rise yeast (about 4 1/2 teaspoons)
- 1 tablespoon salt
Wet Ingredients
- 3 cups warm water (around 100°F / 38°C)
Instructions
- Mix Ingredients: In a very large bowl, combine the bread flour, rapid-rise yeast, salt, and warm water. Stir together with a spoon until the mixture forms a ball of dough. Avoid kneading to prevent overmixing.
- First Rise: Cover the bowl with plastic wrap and allow the dough to rise at room temperature for at least 3 hours, or up to 2 days. The dough should roughly double in size during this time.
- Preheat Oven and Dutch Oven: When ready to bake, preheat your oven to 400°F (200°C). Place your Dutch oven with its lid inside the oven to heat for at least 30 minutes to ensure a hot baking vessel.
- Shape the Dough: Lightly flour your counter and gently shape the risen dough into a ball without kneading. Place this ball onto a piece of parchment paper for easy transferring.
- Bake the Bread Covered: Carefully remove the hot Dutch oven from the oven, remove the lid, and lift the parchment with the dough ball into the Dutch oven. Cover with the lid and bake for about 1 hour at 400°F (200°C).
- Bake the Bread Uncovered: After 1 hour, check the crust color. Remove the lid and bake uncovered for an additional 15-20 minutes to brown and crisp the top crust. Optionally, place a stainless steel bowl with water on the bottom oven rack during baking to create steam for a crispier crust.
Notes
- Do not knead the dough; gentle stirring and shaping are sufficient.
- The dough can be risen for up to 2 days in the refrigerator for more flavor.
- Using a Dutch oven helps mimic the steam environment of professional bread ovens for a better crust.
- Preheating the Dutch oven is crucial for proper heat retention and crust formation.
- The optional water bowl creates steam, which can enhance crust crispness but is not necessary.
Keywords: no-knead bread, easy bread recipe, artisan bread, Dutch oven bread, homemade bread, crusty bread