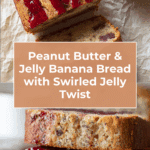
Nostalgic Flavor and Easy Method Recipe
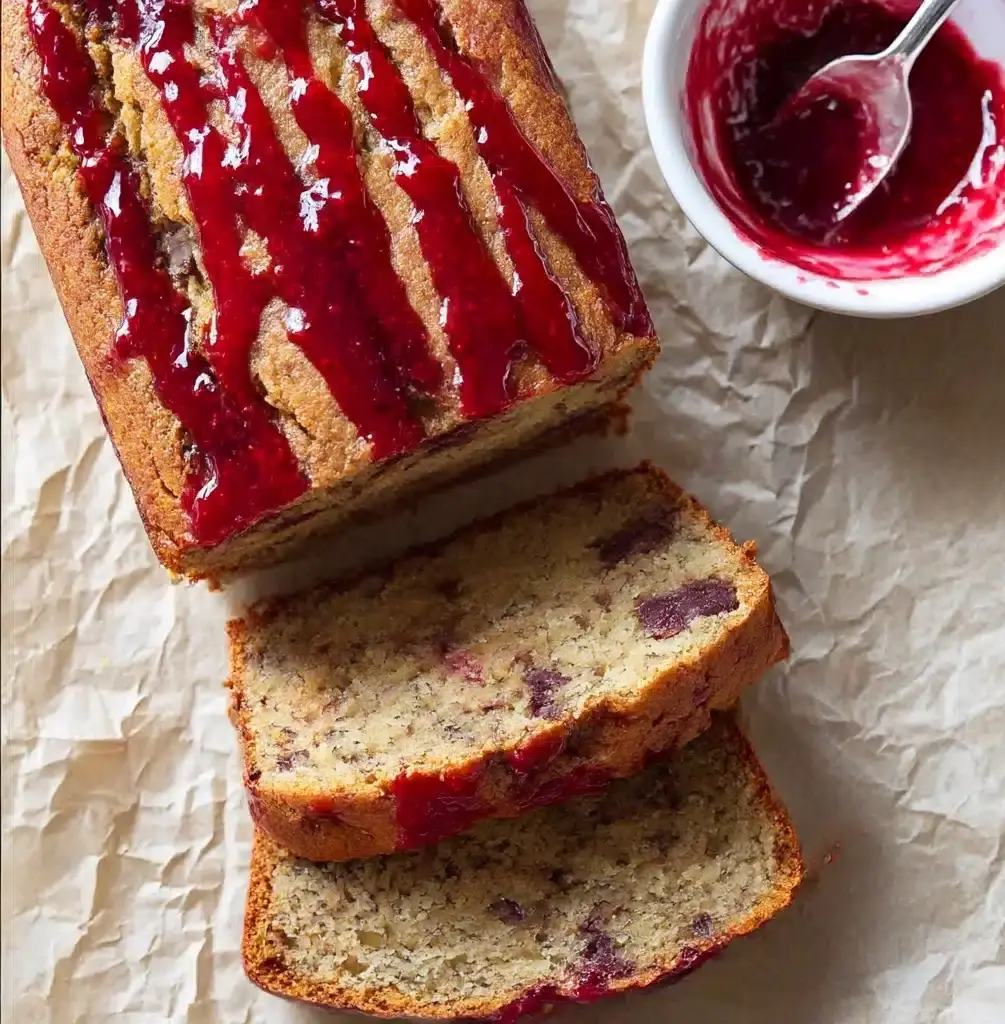
If you’re looking for a sweet treat that instantly brings back warm memories, the Peanut Butter & Jelly Banana Bread is your answer. This recipe perfectly combines that Nostalgic Flavor and Easy Method we all adore: ripe bananas, creamy peanut butter, and bursts of your favorite jelly all swirled into one moist, comforting loaf. It’s like a childhood classic reinvented as a cozy, homemade bread you can bake anytime, with surprisingly simple steps that deliver big on taste and happiness.
Ingredients You’ll Need
This delightful loaf comes together with a handful of kitchen staples, each playing an essential role to build the perfect texture, balance of sweetness, and that inviting color that makes you want to dive right in. The ingredients are humble but harmonize beautifully.
- 3 ripe bananas, mashed: Provides natural sweetness and moisture, the backbone of any banana bread.
- 1/3 cup creamy peanut butter: Adds rich nuttiness and creamy texture that pairs wonderfully with banana.
- 1/2 cup sugar: Sweetens the loaf for that classic dessert feel without overpowering.
- 1/4 cup melted butter: Brings moisture and a tender crumb to every slice.
- 1 teaspoon vanilla extract: Enhances all the flavors with a warm, inviting scent.
- 1 large egg: Helps bind the ingredients and gives the bread structure.
- 1 1/2 cups all-purpose flour: The base that holds everything together with a perfect rise.
- 1 teaspoon baking soda: Leavens the bread and keeps it light and fluffy.
- 1/4 teaspoon salt: Balances sweetness and enhances flavor depth.
- 1/4 cup jelly or jam: Your choice of flavor swirl—grape, strawberry, or any favorite—to add bursts of fruity sweetness.
How to Make Nostalgic Flavor and Easy Method
Step 1: Prepare the Batter
Begin by preheating your oven to 350°F (175°C) and greasing your loaf pan to prevent sticking. Mash those ripe bananas until smooth—it’s the heart of this bread, delivering both taste and moisture. Stir in the creamy peanut butter, sugar, melted butter, vanilla extract, and egg until everything is well combined. In another bowl, whisk together the flour, baking soda, and salt, then gradually fold this dry mixture into the wet ingredients. Take care to mix just until combined; overmixing can make the bread tough.
Step 2: Layer the Batter and Jelly
Pour half of the batter into your greased loaf pan, spreading it out evenly. Now here’s the fun part for that Nostalgic Flavor and Easy Method: dot small spoonfuls of your chosen jelly all over the batter. Grab a butter knife or toothpick and gently swirl the jelly through, creating pretty streaks without fully blending it in. This creates pockets of sweet fruit flavor in every bite.
Step 3: Add the Second Layer and Swirl Again
Carefully pour the remaining batter over your first layer, smoothing it gently with a spatula. Repeat the jelly-dolloping and swirling step on top again to create those irresistible marbled patterns that make this bread so special when sliced.
Step 4: Bake to Perfection
Pop the loaf pan into your preheated oven and bake for 50 to 60 minutes. You’ll know it’s ready when a toothpick inserted into the center comes out clean. Let the bread cool in the pan for 10 minutes before transferring it to a wire rack—this resting time helps firm it up and makes it easier to slice.
How to Serve Nostalgic Flavor and Easy Method

Garnishes
For an extra touch that enhances the Nostalgic Flavor and Easy Method, try spreading a thin layer of peanut butter or jelly right on top of a warm slice. A sprinkle of chopped peanuts or a light drizzle of honey adds a lovely textural contrast and sweetness.
Side Dishes
This banana bread is perfect alongside a hot cup of coffee or tea for breakfast or an afternoon snack. For a brunch spread, pair it with fresh fruit or a dollop of Greek yogurt to keep things fresh and balanced.
Creative Ways to Present
Slide a few slices onto a pretty platter and arrange them with small bowls of extra jelly and peanut butter for a make-your-own spread. You can also toast the slices lightly and add a scoop of vanilla ice cream or a drizzle of chocolate sauce for an indulgent dessert twist that’s sure to delight.
Make Ahead and Storage
Storing Leftovers
Keep your leftover peanut butter & jelly banana bread tightly wrapped in plastic wrap or stored in an airtight container at room temperature for up to three days. This maintains freshness while preserving that perfect moist texture we love.
Freezing
If you want to enjoy this delight later, wrap the bread tightly in plastic wrap and then foil before popping it into the freezer. It will keep well for up to two months, ready to thaw whenever you need a cozy treat.
Reheating
To revive your bread’s freshness, reheat slices in a toaster oven or microwave for a few seconds until warm. Adding a little pat of butter melts beautifully, bringing back that comforting Nostalgic Flavor and Easy Method sensation with every bite.
FAQs
Can I use crunchy peanut butter instead of creamy?
Absolutely! Crunchy peanut butter can add a delightful texture, with little peanut bits for a fun surprise in the bread. Just use it in the same amount as creamy.
What kind of jelly works best in this recipe?
You really can’t go wrong—grape and strawberry are classics that pair perfectly, but feel free to try raspberry, apricot, or even cherry jam for an interesting twist on the Nostalgic Flavor and Easy Method.
Can I make this bread gluten-free?
Yes, you can substitute the all-purpose flour with a gluten-free flour blend. Just make sure the blend you use is designed for baking to ensure the texture remains soft and moist.
Is this recipe suitable for beginners?
Definitely! This recipe embraces the Nostalgic Flavor and Easy Method spirit by being straightforward and friendly, even if it’s your first time baking banana bread.
How ripe should the bananas be?
Go for bananas that are very ripe—dark brown spots and softened texture are perfect. They are sweeter and mash smoothly, which enhances the overall flavor and moisture.
Final Thoughts
This Peanut Butter & Jelly Banana Bread is the perfect marriage of simplicity and nostalgia—a recipe that delivers both heartfelt flavor and a breeze to make. Whether you’re baking for family, friends, or just because, it promises to fill your kitchen with warmth and smiles. Give this Nostalgic Flavor and Easy Method a try, and watch how one loaf can bring comfort and joy in every slice.
PrintNostalgic Flavor and Easy Method Recipe
This Peanut Butter & Jelly Banana Bread combines the nostalgic flavors of classic peanut butter and jelly sandwiches with moist, flavorful banana bread. Featuring a marbled jelly swirl throughout, this easy-to-make recipe transforms ripe bananas into a comforting loaf perfect for breakfast or a snack.
- Prep Time: 15 minutes
- Cook Time: 55 minutes
- Total Time: 1 hour 10 minutes
- Yield: 1 loaf (about 10–12 slices) 1x
- Category: Bread
- Method: Baking
- Cuisine: American
- Diet: Vegetarian
Ingredients
For the Bread:
- 3 ripe bananas, mashed
- 1/3 cup creamy peanut butter
- 1/2 cup sugar
- 1/4 cup melted butter
- 1 teaspoon vanilla extract
- 1 large egg
- 1 1/2 cups all-purpose flour
- 1 teaspoon baking soda
- 1/4 teaspoon salt
For the Jelly Swirl:
- 1/4 cup jelly or jam (grape, strawberry, or your favorite flavor)
Instructions
- Prepare the Batter: Preheat your oven to 350°F (175°C) and grease a 9×5-inch loaf pan to prevent sticking. In a large mixing bowl, mash the ripe bananas until smooth to create a moist base. Stir in the creamy peanut butter, sugar, melted butter, vanilla extract, and egg until all ingredients are well combined. In a separate bowl, whisk together the all-purpose flour, baking soda, and salt to ensure even distribution. Gradually fold the dry ingredients into the wet mixture, mixing gently until just combined to maintain a tender texture.
- Layer the Batter and Jelly: Pour half of the banana bread batter into the prepared loaf pan and spread it evenly to form a smooth layer. Spoon teaspoons of your chosen jelly over the batter, distributing it in several spots. Using a butter knife or toothpick, gently swirl the jelly through the batter in a marbling motion—taking care not to overmix so that distinct jelly streaks remain.
- Add the Second Layer: Pour the remaining batter over the jelly layer and smooth the surface with a spatula for an even finish. Repeat the process by dolloping more jelly on top and swirling it gently to create beautiful marbled patterns that will bake into the bread.
- Bake the Bread: Place the loaf pan in the preheated oven and bake for 50 to 60 minutes. Check doneness by inserting a toothpick into the center; it should come out clean or with just a few moist crumbs. Remove the bread from the oven and allow it to cool in the pan for 10 minutes, which helps it set. Then, transfer the bread to a wire rack to cool completely before slicing and serving.
Notes
- Use ripe bananas with brown spots for the best sweetness and moisture.
- You can substitute crunchy peanut butter if preferred for added texture.
- Feel free to use any jelly or jam flavor to customize your bread.
- To check for doneness earlier, start testing at 50 minutes to avoid overbaking.
- Store leftover banana bread tightly wrapped at room temperature for up to 3 days or refrigerate for longer freshness.
Nutrition
- Serving Size: 1 slice (1/12 of loaf)
- Calories: 190
- Sugar: 12g
- Sodium: 180mg
- Fat: 8g
- Saturated Fat: 3g
- Unsaturated Fat: 4g
- Trans Fat: 0g
- Carbohydrates: 26g
- Fiber: 2g
- Protein: 4g
- Cholesterol: 30mg
Keywords: peanut butter banana bread, jelly swirl bread, banana bread recipe, peanut butter jelly banana bread, easy banana bread, nostalgic desserts