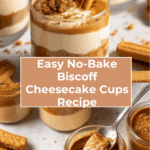
No-Bake Biscoff Cheesecake Cups Recipe
Introduction
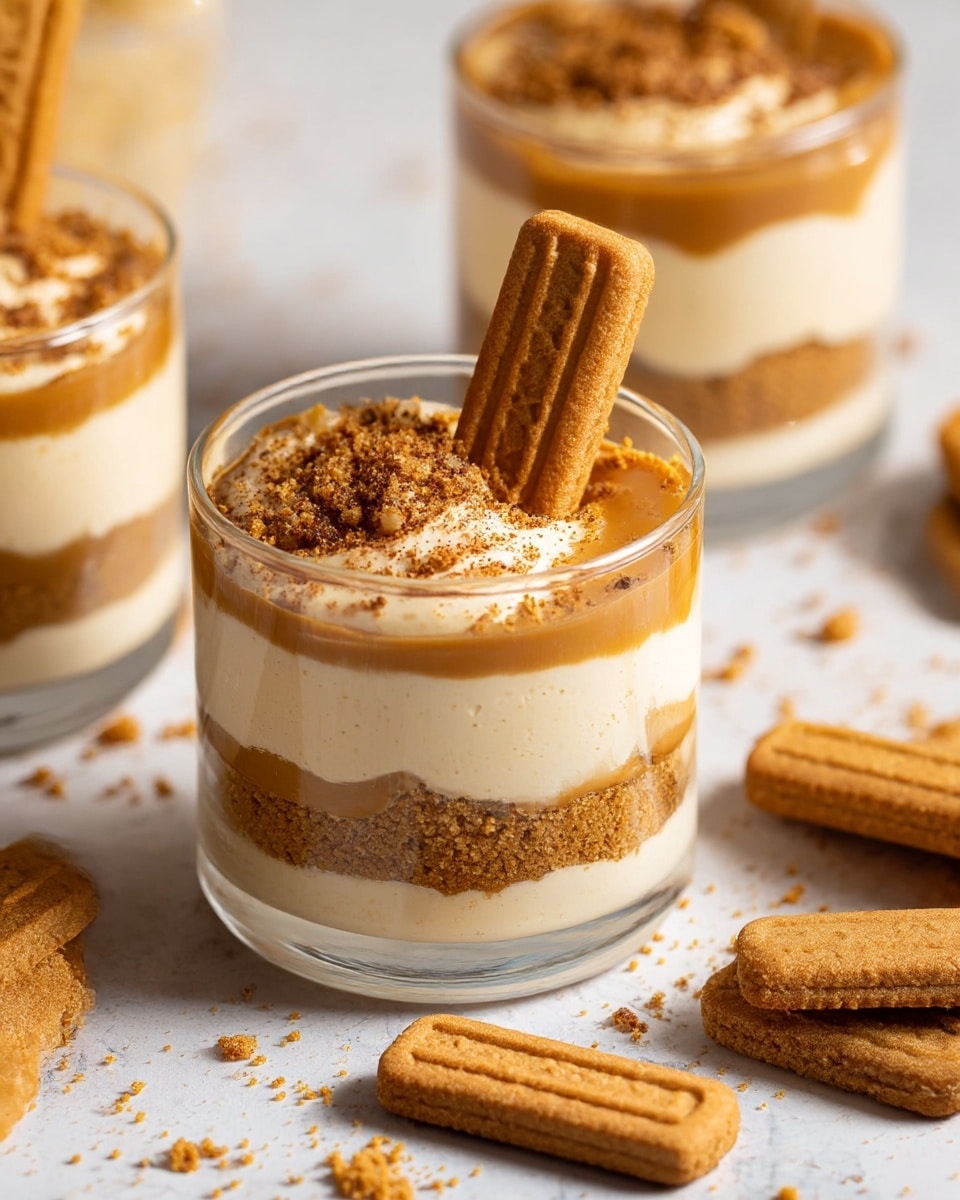
No-Bake Biscoff Cheesecake Cups are a delightful and easy dessert that combines the rich, creamy texture of cheesecake with the irresistible flavor of Biscoff cookies. Perfect for parties or a simple treat, these cups require no oven time and come together quickly.
Ingredients
- 30 Lotus Biscoff biscuits
- 2 tablespoons unsalted butter, melted
- 16 oz heavy cream (2 cups)
- 8 oz cream cheese, at room temperature
- 1/2 cup powdered sugar
- 1/2 cup Biscoff spread
- 1 teaspoon vanilla extract
- 1/2 cup Biscoff spread (for garnish)
- 8 Biscoff cookies, cut in half (for garnish)
Instructions
- Step 1: Crush the Lotus Biscoff biscuits into fine crumbs using a food processor or by placing them in a bag and crushing with a rolling pin. In a medium bowl, mix the biscuit crumbs with 2 tablespoons of melted butter. Reserve a few tablespoons of this mixture for decoration.
- Step 2: Divide the crumb mixture evenly into your dessert cups—this recipe yields about 8 regular-sized or 16 shot-sized cups. Press 2-3 tablespoons of crumbs into the bottom of each cup to form the base, then set aside.
- Step 3: In a large bowl, whisk the heavy cream until stiff peaks form.
- Step 4: In a separate bowl, whisk together the cream cheese, powdered sugar, 1/2 cup Biscoff spread, and vanilla extract until smooth and creamy.
- Step 5: Gently fold the whipped cream into the cream cheese mixture until fully combined.
- Step 6: Place the cheesecake filling into a large piping bag and pipe it evenly into each prepared dessert cup.
- Step 7: Microwave 1/2 cup of Biscoff spread for about 20 seconds until melted and pourable. Spoon a thin layer of the melted spread over each cup.
- Step 8: Garnish each cup with halved Biscoff cookies and a sprinkle of the reserved biscuit crumbs.
- Step 9: Refrigerate the cups for at least 4 hours to allow the cheesecake to set. Serve chilled.
Tips & Variations
- For an extra crunch, add chopped Biscoff cookies into the cheesecake filling before folding in the whipped cream.
- If you prefer a lighter sweetness, reduce the powdered sugar slightly or swap it for a natural sweetener.
- Use a piping bag with a decorative tip for a more elegant presentation.
- Try adding a pinch of cinnamon to the crumb base for a subtle warm spice flavor.
Storage
Store the cheesecake cups covered in the refrigerator for up to 3 days. When ready to serve, you can enjoy them cold straight from the fridge. If you want to soften the Biscoff topping slightly, let the cups sit at room temperature for about 10 minutes before serving.
How to Serve
Serve this delicious recipe with your favorite sides.
FAQs
Can I make these cheesecake cups ahead of time?
Yes, these no-bake cheesecake cups can be made a day in advance and stored in the refrigerator. This allows the flavors to meld and the cheesecake to firm up perfectly.
Can I substitute the Biscoff spread with another type of spread?
You can substitute Biscoff spread with other cookie butters or even peanut butter for a different flavor, but this will change the distinctive taste of the dessert.
PrintNo-Bake Biscoff Cheesecake Cups Recipe

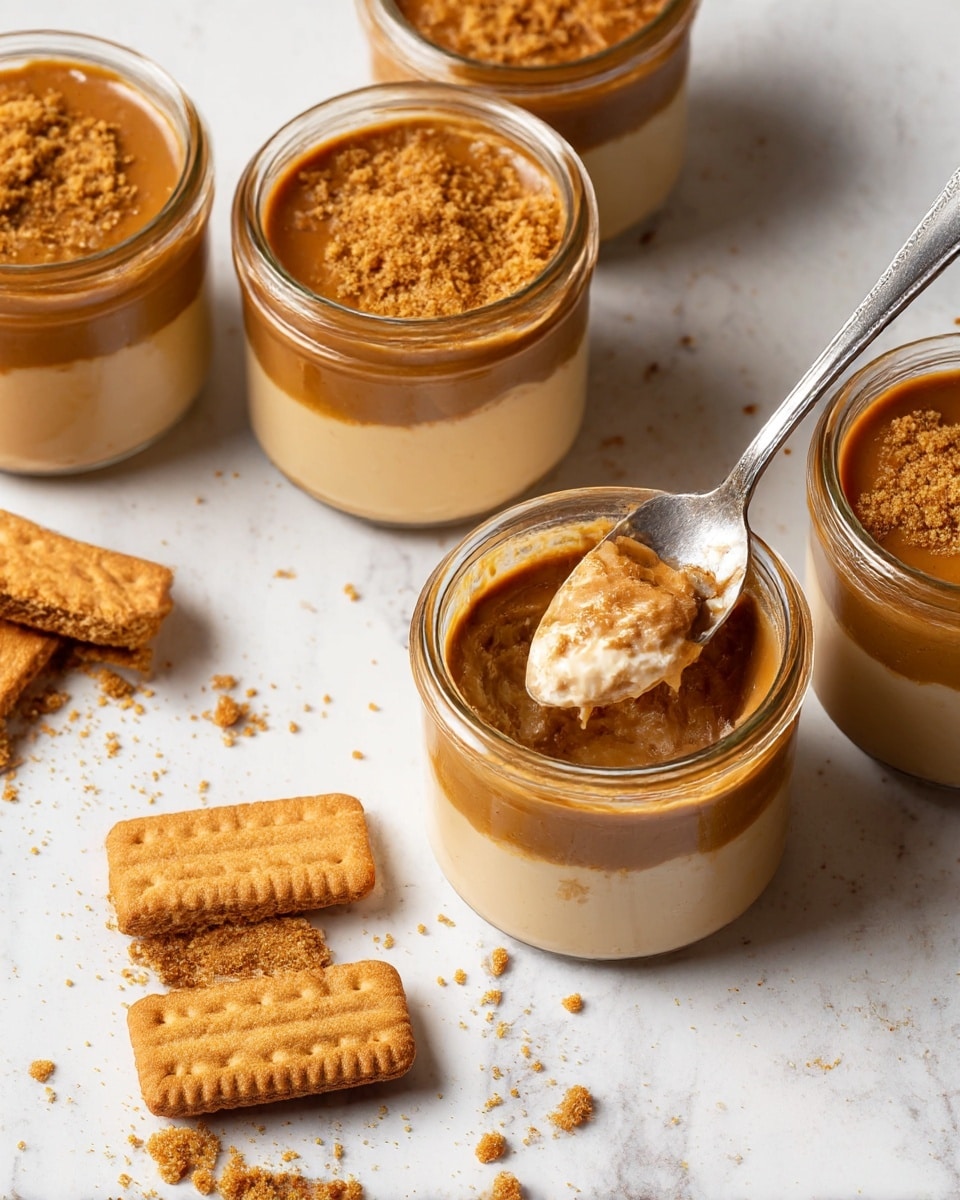
These No-Bake Biscoff Cheesecake Cups are a delightful, creamy dessert featuring a crunchy Biscoff biscuit base and a smooth, fluffy cheesecake filling flavored with biscoff spread. Perfectly layered in individual cups, topped with melted biscoff spread and cookie halves, these cheesecake cups are easy to prepare and require no baking, making them an ideal treat for any occasion.
- Prep Time: 20 minutes
- Cook Time: 0 minutes
- Total Time: 4 hours 20 minutes
- Yield: 8 regular-sized cheesecake cups or 16 shot-sized cups 1x
- Category: Dessert
- Method: No-Cook
- Cuisine: American
Ingredients
Crumb Base
- 30 Lotus Biscoff biscuits
- 2 tablespoons unsalted butter, melted
Cheesecake Filling
- 16 oz heavy cream (about 2 cups)
- 8 oz cream cheese, at room temperature
- 1/2 cup powdered sugar
- 1/2 cup Biscoff spread
- 1 teaspoon vanilla extract
Garnish
- 1/2 cup Biscoff spread
- 8 Biscoff cookies, cut in half
Instructions
- Make the Base: Start by crushing the Lotus Biscoff biscuits into fine crumbs using a food processor or by placing them in a plastic bag and rolling with a rolling pin. In a medium bowl, combine the crushed biscoff crumbs with 2 tablespoons of melted unsalted butter, mixing until evenly coated. Reserve a few tablespoons of this crumb mixture for decoration later.
- Prepare the Cups: Divide the crumb mixture evenly into about 8 regular-sized or 16 shot-sized dessert cups, placing 2-3 tablespoons in each. Press down firmly to create an even, compact base layer. Set the cups aside.
- Make the Cheesecake Filling: In a large mixing bowl, whisk the heavy cream using a hand or stand mixer until stiff peaks form. In a separate bowl, beat the room temperature cream cheese with the powdered sugar, Biscoff spread, and vanilla extract until smooth and creamy. Gently fold the whipped cream into the cream cheese mixture, combining fully but carefully to keep the mixture airy.
- Assemble the Cups: Transfer the cheesecake filling into a large piping bag. Pipe the filling evenly into each prepared cup, sitting over the crumb base.
- Add the Garnish: Warm the 1/2 cup Biscoff spread in the microwave for about 20 seconds until it becomes liquidy. Spoon or drizzle a thin layer of melted Biscoff spread on top of each cheesecake cup. Decorate each cup by placing cookie halves on top and sprinkling the reserved cookie crumbs for added texture and presentation.
- Chill: Refrigerate the assembled cheesecake cups for at least 4 hours to allow them to firm up properly before serving. Serve chilled for best taste and texture.
Notes
- This dessert requires no baking and is perfect for a quick yet impressive treat.
- Use room temperature cream cheese to ensure a smooth, lump-free filling.
- Stiff peaks of whipped cream are essential for light, airy cheesecake texture.
- Chilling time of at least 4 hours is necessary for the cheesecake to set properly.
- Leftover melted Biscoff spread can be stored and refrigerated, then remelted for reuse.
- For a lighter option, you can substitute heavy cream with whipped topping, but texture may vary.
Keywords: No-bake cheesecake, Biscoff cheesecake, easy dessert cups, no bake dessert, Biscoff cookies, creamy cheesecake, quick dessert