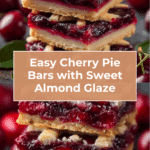
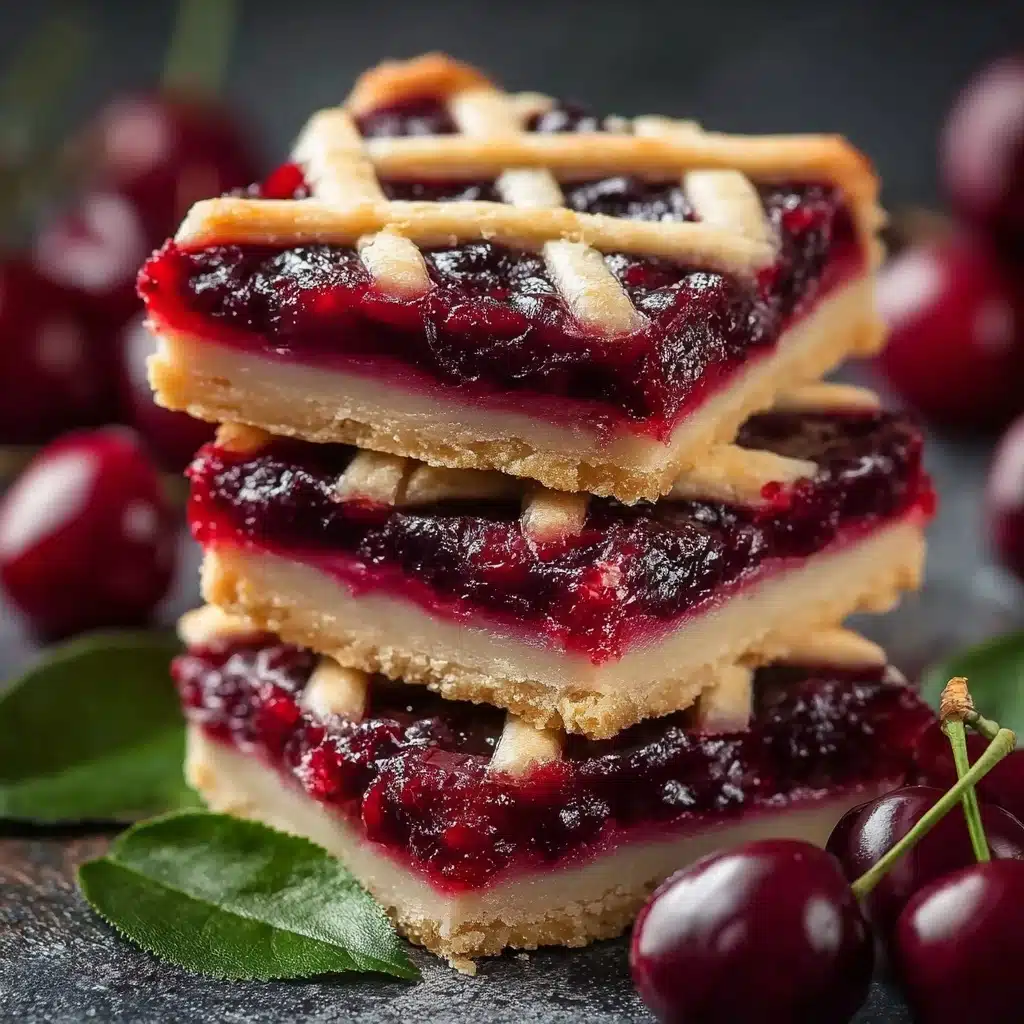
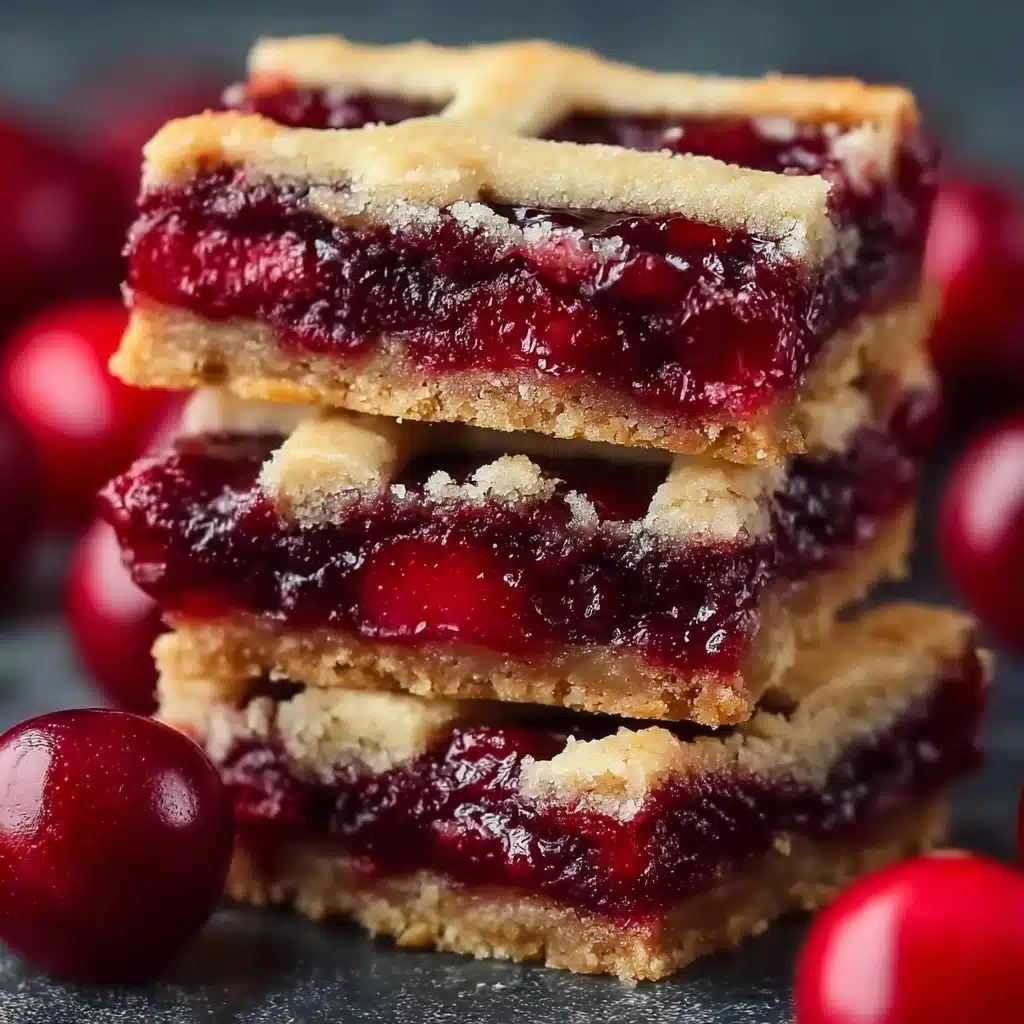
Easy Cherry Pie Bars Recipe
If you’re looking for a delightful treat that combines the luscious sweetness of cherries with a buttery, tender crust, then these Easy Cherry Pie Bars are exactly what you need in your kitchen repertoire. They’re a perfect balance of flavors and textures, bringing that classic cherry pie taste in a convenient bar form. Whether you want a snack to share at a casual gathering or a fresh dessert to enjoy any day, these bars are as simple to make as they are irresistible. Let’s dive into what makes these Easy Cherry Pie Bars such an all-time favorite!
Ingredients You’ll Need
Gathering these ingredients is a breeze, and each one plays a starring role in making these bars absolutely scrumptious. From the creamy butter that forms the rich crust to the sweet, juicy cherry filling begging to be savored, every element is essential for that perfect bite.
- 1 cup softened butter: This provides the rich and tender base that holds everything together beautifully.
- 1 cup sugar: Adds the perfect amount of sweetness to balance the tart cherries.
- 2 large eggs, room temp: These bring moisture and help create the right texture for the dough.
- 1 tsp almond extract: A subtle hint that enhances the cherry flavor wonderfully.
- 1 tsp vanilla extract: Adds warmth and depth to the overall taste.
- 2 ½ cups all-purpose flour: The structure-builder that creates a tender yet sturdy crust.
- ½ tsp salt: Balances flavors and cuts through the sweetness subtly.
- 1 (21 oz) can premium cherry pie filling: The luscious heart of these bars, bursting with juicy cherries.
- For glaze: 1 cup confectioners’ sugar, 1 tsp almond extract, ½ tsp vanilla, milk as needed: This silky drizzle adds a final touch of sweetness and an elegant appearance.
How to Make Easy Cherry Pie Bars
Step 1: Preheat and Prepare
Start by preheating your oven to 350°F (175°C). It’s always wise to get your oven ready early so your bars bake evenly and perfectly. Have a baking pan ready, preferably one that’s around 9×13 inches for ideal thickness.
Step 2: Cream Butter and Sugar
In a large bowl, combine the softened butter and sugar. Beat them together until the mixture is smooth and creamy. This step is crucial as it ensures your crust will be buttery and tender, creating a perfect base for the cherry filling.
Step 3: Add Eggs and Extracts
Next, beat in the eggs one at a time, then stir in the almond and vanilla extracts. These extracts will infuse your bars with warm, inviting flavors that elevate the cherries beautifully.
Step 4: Mix in Dry Ingredients
Now, gently fold in the all-purpose flour and salt until the dough just comes together. Over-mixing can make the crust tough, so be careful to stir until you no longer see dry flour.
Step 5: Press Dough and Add Cherry Filling
Press half of the dough evenly into the bottom of your prepared baking pan. Then, spread the cherry pie filling evenly over this layer, making sure every bite will have that signature cherry sweetness.
Step 6: Top with Remaining Dough
Rather than rolling out the rest of the dough, just dollop it over the cherry layer in small clumps. These will bake into a rustic, patchy top crust that’s charming and delightful in texture.
Step 7: Bake and Cool
Bake for 35 to 40 minutes, or until the top is golden and the cherry filling bubbles gently around the edges. Once baked, allow the bars to cool completely in the pan. This cooling step helps the filling set and makes slicing much easier.
Step 8: Drizzle with Glaze
Whisk together the confectioners’ sugar, almond extract, vanilla, and a splash of milk to create a smooth glaze. Drizzle it artistically over the cooled bars for a beautiful and tasty finish.
How to Serve Easy Cherry Pie Bars
Garnishes
A sprinkle of powdered sugar or a few fresh cherries on top of the glaze can make these bars look irresistible at any gathering. For an extra touch, a dollop of whipped cream or a scoop of vanilla ice cream complements the fruity sweetness perfectly.
Side Dishes
Serve your cherry pie bars alongside a fresh cup of coffee or a bright herbal tea to balance the sweetness. They also pair wonderfully with a simple green salad if you’re offering them as part of a light dessert after a meal.
Creative Ways to Present
To impress your guests, cut the bars into smaller bite-sized pieces and arrange them on a decorative platter with edible flowers or fresh mint leaves for color. You can also layer the bars with cream cheese frosting or drizzle caramel sauce for a fun twist that guests will rave about.
Make Ahead and Storage
Storing Leftovers
These Easy Cherry Pie Bars keep wonderfully in an airtight container at room temperature for up to 2 days. If it’s a warm day, refrigeration is best to keep the glaze intact and the filling fresh.
Freezing
These bars freeze beautifully. Once cooled, wrap them tightly in plastic wrap and then foil before placing in the freezer. They’ll stay fresh for up to 3 months. Just thaw them overnight in the fridge before serving.
Reheating
Warm your bars slightly in a low oven or microwave to bring back that fresh-out-of-the-oven charm. Be careful not to overheat so the glaze doesn’t melt away completely, preserving the delightful drizzle on top.
FAQs
Can I use fresh cherries instead of canned pie filling?
Absolutely! Just make sure to cook fresh cherries with sugar and a bit of cornstarch until thickened before spreading them on the crust. This ensures your cherry filling has that perfect pie consistency.
What pan size is best for these Easy Cherry Pie Bars?
A 9×13-inch baking pan works perfectly to give you bars that are thick enough to enjoy while baking evenly throughout.
Can I make these bars gluten-free?
Yes, you can substitute the all-purpose flour with a gluten-free flour blend. Make sure the blend includes xanthan gum or add some separately to maintain the dough’s texture.
How long do these bars last?
Stored properly in an airtight container, these bars will stay fresh for up to 3 days at room temperature, or up to a week if refrigerated.
Can I skip the glaze?
You can, but the glaze adds a lovely sweet finish and complements the almond and vanilla flavors beautifully. It’s worth the few extra minutes to whip it up.
Final Thoughts
If you’ve been searching for a dessert that feels like a warm hug and is as easy to make as it is delicious, these Easy Cherry Pie Bars will absolutely steal your heart. They’re a fantastic way to bring classic pie flavors into a kitchen-friendly bar format that everyone will love. Trust me, once you make them, these bars will become your go-to treat for any occasion!
PrintEasy Cherry Pie Bars Recipe

Easy Cherry Pie Bars are a delightful blend of a buttery crust, sweet cherry pie filling, and a luscious almond-vanilla glaze. These bars offer a simple, crowd-pleasing dessert that’s perfect for any occasion, combining the classic flavors of cherry pie in a portable, easy-to-serve form.
- Prep Time: 15 minutes
- Cook Time: 40 minutes
- Total Time: 55 minutes
- Yield: 16 bars 1x
- Category: Dessert
- Method: Baking
- Cuisine: American
- Diet: Vegetarian
Ingredients
Base and Topping Dough
- 1 cup softened butter
- 1 cup sugar
- 2 large eggs, room temperature
- 1 tsp almond extract
- 1 tsp vanilla extract
- 2 ½ cups all-purpose flour
- ½ tsp salt
Filling
- 1 (21 oz) can premium cherry pie filling
Glaze
- 1 cup confectioners’ sugar
- 1 tsp almond extract
- ½ tsp vanilla extract
- Milk, as needed (about 1-2 tbsp)
Instructions
- Preheat Oven: Preheat your oven to 350°F (175°C) to prepare it for baking the cherry pie bars evenly.
- Cream Butter and Sugar: In a large bowl, beat the softened butter and sugar together until the mixture is light and fluffy. This process helps to incorporate air, resulting in a tender crust.
- Add Eggs and Extracts: Beat in the eggs, almond extract, and vanilla extract until fully combined, giving the dough a rich and aromatic flavor.
- Mix Dry Ingredients: In a separate bowl, whisk together the all-purpose flour and salt. Gradually add this to the wet mixture, stirring until a crumbly, cohesive dough forms.
- Press Half the Dough: Reserve half of the dough and press it evenly into the bottom of a greased 9×13-inch baking pan, forming the base layer for your bars.
- Spread Cherry Filling: Evenly spread the cherry pie filling over the dough base, ensuring a generous and uniform layer of fruit.
- Add Topping Dough: Dollop the remaining half of the dough over the cherry filling. Use your fingers or a spatula to gently spread or pat it down, leaving some gaps for baking texture.
- Bake: Place the pan in the preheated oven and bake for 35 to 40 minutes, or until the top is golden brown and the filling bubbles around the edges.
- Cool: Remove the bars from the oven and allow them to cool completely in the pan to set the filling and make slicing easier.
- Prepare Glaze: In a small bowl, mix the confectioners’ sugar, almond extract, and vanilla extract. Add milk gradually, stirring until the glaze reaches a smooth, drizzling consistency.
- Drizzle and Serve: Drizzle the glaze over the cooled bars, slice into squares, and serve. Enjoy your delicious Easy Cherry Pie Bars!
Notes
- Room temperature eggs help the dough bind better and create a smoother texture.
- Use premium or quality cherry pie filling for the best flavor and texture.
- Make sure the bars cool completely before drizzling the glaze so it doesn’t melt and run off.
- You can substitute almond extract with extra vanilla extract if almond flavor is not preferred.
- Store leftovers in an airtight container at room temperature for up to 3 days or refrigerate for up to a week.
Nutrition
- Serving Size: 1 bar (approx. 1/16 of recipe)
- Calories: 280 kcal
- Sugar: 23 g
- Sodium: 120 mg
- Fat: 14 g
- Saturated Fat: 8 g
- Unsaturated Fat: 5 g
- Trans Fat: 0 g
- Carbohydrates: 35 g
- Fiber: 1 g
- Protein: 3 g
- Cholesterol: 60 mg
Keywords: cherry pie bars, cherry dessert, easy cherry bar recipe, cherry pie filling bars, almond glaze bars