Butterfinger Bliss Balls Recipe
Introduction
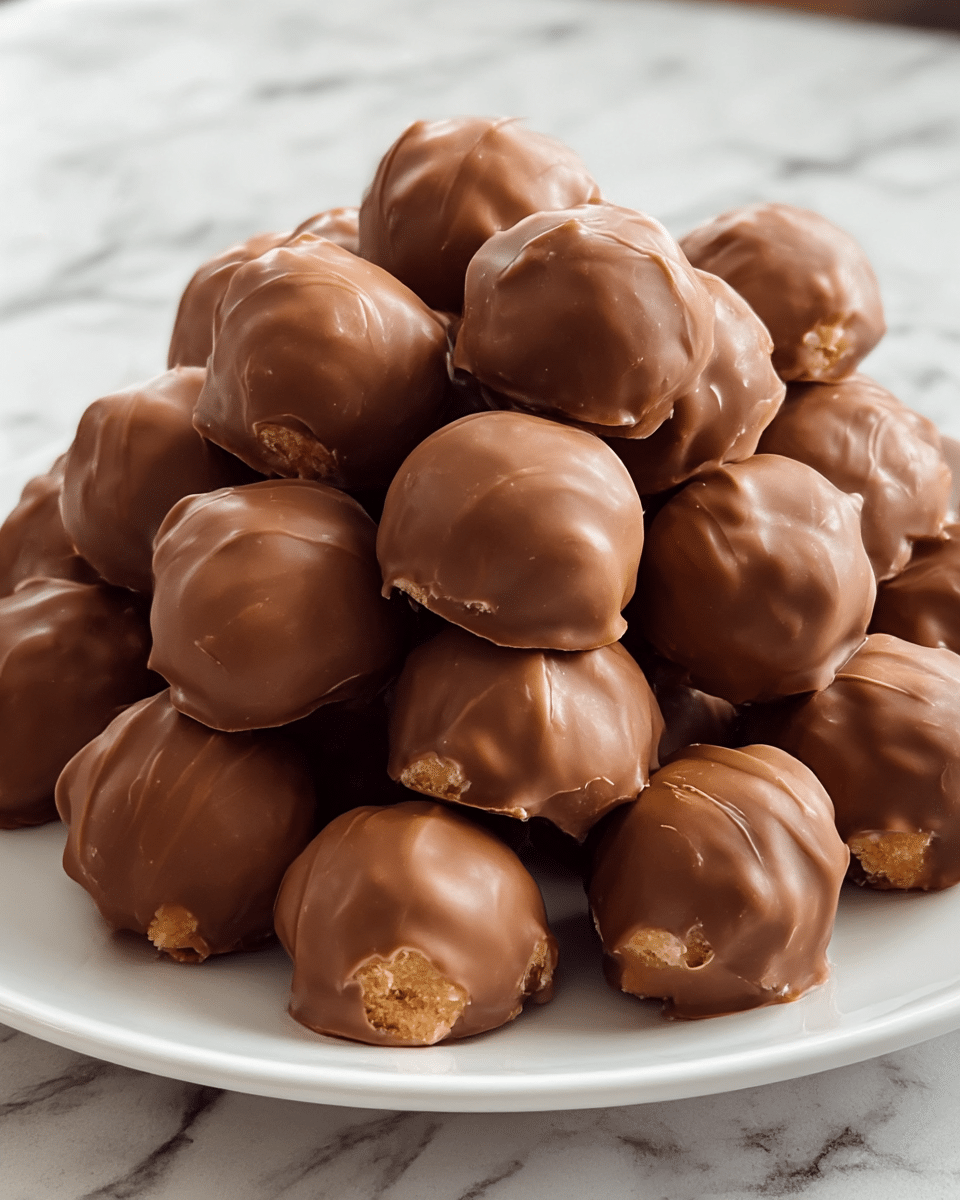
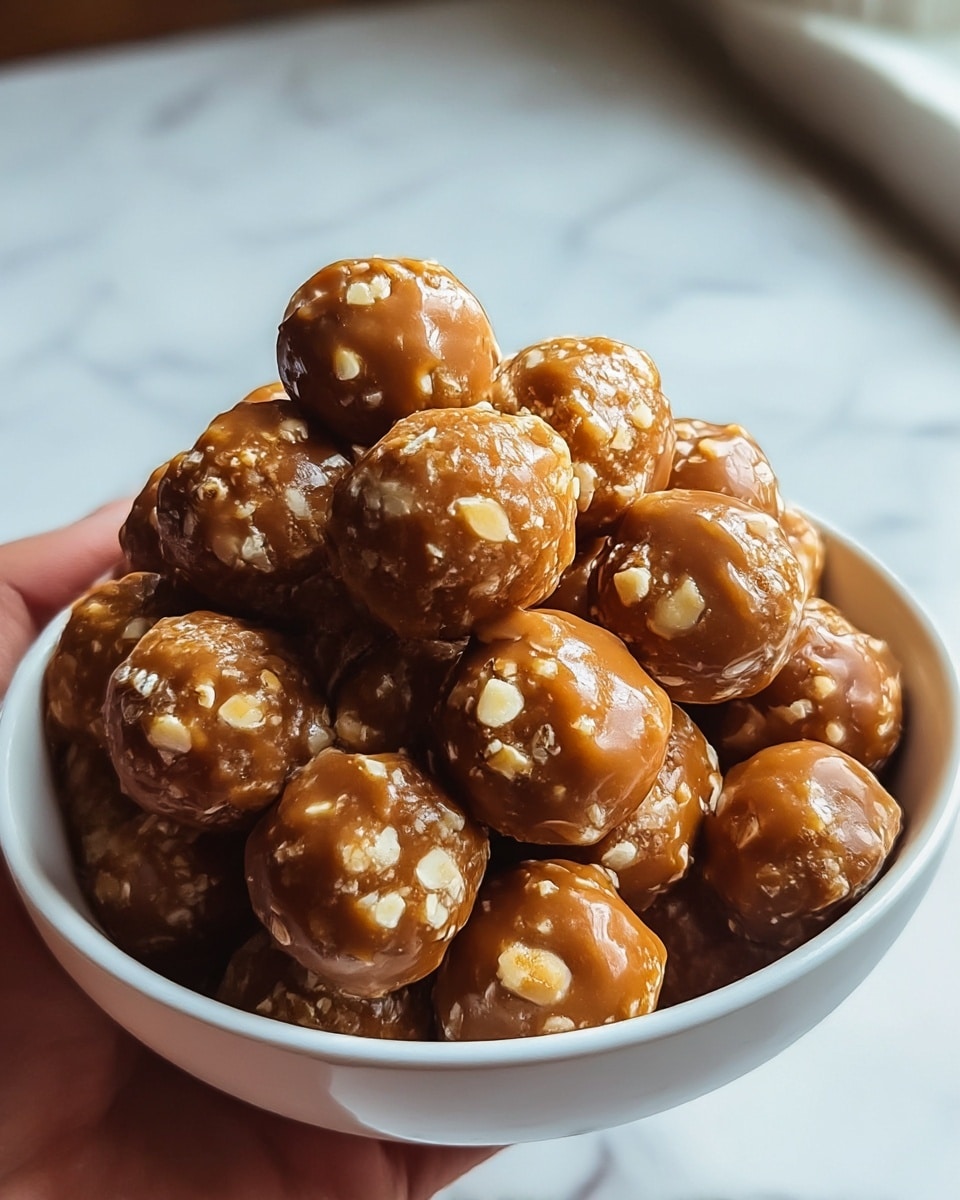
Butterfinger Balls are a delightful no-bake treat combining creamy peanut butter, crunchy Butterfinger bars, and rich chocolate. These bite-sized sweets are perfect for holiday gatherings or whenever you crave a decadent snack.
Ingredients
- 4 tablespoons softened butter (½ stick)
- 1 teaspoon vanilla extract
- 8 ounces chocolate bark or chocolate chips
- ½ cup Butterfinger bars, crushed
- 1 cup powdered sugar
- 1 cup peanut butter (avoid all-natural varieties)
- ¾ cup graham cracker crumbs
- Optional garnishes: additional crushed Butterfinger bars, festive sprinkles, or coarse sea salt
Instructions
- Step 1: In a mixing bowl, combine the peanut butter and softened butter. Using an electric or stand mixer at medium speed, blend until creamy and uniform.
- Step 2: Add the vanilla extract and mix thoroughly to incorporate the flavor.
- Step 3: Gradually add the powdered sugar in increments, blending at low speed. Scrape down the bowl sides occasionally for even mixing.
- Step 4: Gently fold in the graham cracker crumbs and crushed Butterfinger bars until evenly distributed.
- Step 5: Line a large cookie sheet with parchment paper. Scoop 1 to 1½ tablespoons of dough, roll into balls, and place them on the sheet.
- Step 6: Freeze the dough balls for about 30 minutes until they are firm.
- Step 7: Melt the chocolate in a microwave-safe bowl using 30-second bursts at 50% power, stirring between intervals. Leave some lumps as they will melt with stirring.
- Step 8: Dip each chilled ball into the melted chocolate, coating completely or partially as desired.
- Step 9: Garnish with additional crushed Butterfinger bars, sprinkles, or a pinch of flaky sea salt.
- Step 10: Let the chocolate set completely before serving and enjoying your Butterfinger Balls.
Tips & Variations
- Use smooth peanut butter for the best texture and avoid all-natural chunky varieties that can affect consistency.
- Substitute chocolate bark with your favorite chocolate chips, such as milk, dark, or white chocolate.
- For extra crunch, add finely chopped nuts along with the graham cracker crumbs.
- Try rolling the balls in finely chopped nuts or cocoa powder instead of chocolate for a different finish.
Storage
Store the Butterfinger Balls in an airtight container in the refrigerator for up to one week. For longer storage, freeze them for up to three months. Thaw in the fridge before serving. If the chocolate softens at room temperature, a brief chill will help it re-harden.
How to Serve
Serve this delicious recipe with your favorite sides.
FAQs
Can I use natural peanut butter in this recipe?
It’s best to avoid natural peanut butter as it tends to have a runnier texture and can make the dough too soft to shape into balls properly.
How should I melt the chocolate to avoid burning it?
Melt the chocolate in short bursts at 50% power, stirring well between intervals. This method prevents overheating and keeps the chocolate smooth and glossy.
PrintButterfinger Bliss Balls Recipe

Butterfinger Balls are delightful no-bake treats combining creamy peanut butter, crunchy Butterfinger bars, and a luscious chocolate coating. These bite-sized sweets are perfect for parties or holiday celebrations, offering a balanced blend of textures and flavors in every bite.
- Prep Time: 15 minutes
- Cook Time: 0 minutes
- Total Time: 45 minutes
- Yield: Approximately 24 balls 1x
- Category: Dessert
- Method: No-Cook
- Cuisine: American
Ingredients
Dough Ingredients
- 4 tablespoons softened butter (½ stick)
- 1 teaspoon vanilla extract
- 1 cup peanut butter (avoid all-natural varieties)
- 1 cup powdered sugar
- ¾ cup graham cracker crumbs
- ½ cup crushed Butterfinger bars
Coating & Garnishes
- 8 ounces chocolate bark or chocolate chips
- Optional garnishes: additional crushed Butterfinger bars, festive sprinkles, or coarse sea salt
Instructions
- Prepare the Dough: In a mixing bowl, combine the peanut butter and softened butter. Use an electric or stand mixer set to medium speed and blend until the mixture is creamy and uniform.
- Add Aromatic Notes: Incorporate the vanilla extract and blend thoroughly to evenly distribute the flavor.
- Sweeten the Deal: Gradually add the powdered sugar in increments while blending at a low speed. Make sure to scrape down the sides of the bowl to ensure all ingredients are mixed evenly.
- Crunch Time: Gently fold in the graham cracker crumbs and crushed Butterfinger bars to create a crunchy, textured dough.
- Shape ’em Up: Line a large cookie sheet with parchment paper. Scoop out approximately 1 to 1½ tablespoons of the dough, roll into neat balls, and place them evenly spaced on the sheet.
- Chilling Phase: Freeze the dough balls on the cookie sheet for roughly 30 minutes until they are completely firm and ready for coating.
- Melting the Chocolate: Transfer the chopped chocolate or chocolate chips to a microwave-safe bowl. Heat in 30-second intervals at 50% power, stirring between each session, until mostly melted but still smooth, avoiding overheating.
- Coat and Decorate: Submerge each chilled ball into the melted chocolate to coat completely or partially, then place back onto the parchment-lined sheet. Sprinkle with additional crushed Butterfinger bars, festive sprinkles, or a dash of flaky sea salt if desired.
- The Grand Finale: Allow the chocolate coating to solidify completely at room temperature or in the refrigerator before serving to enjoy the perfect Butterfinger Bliss Balls.
Notes
- Use regular peanut butter rather than all-natural varieties for best texture and binding.
- Be careful not to overheat the chocolate to prevent it from seizing.
- Frozen balls can be stored in an airtight container and kept refrigerated for up to one week.
- Optional garnishes add visual appeal and extra flavor contrast.
Keywords: Butterfinger Balls, no-bake dessert, peanut butter treats, chocolate-coated candies, holiday desserts, easy sweets