
The Perfect Artisan Pizza Dough Recipe
Introduction
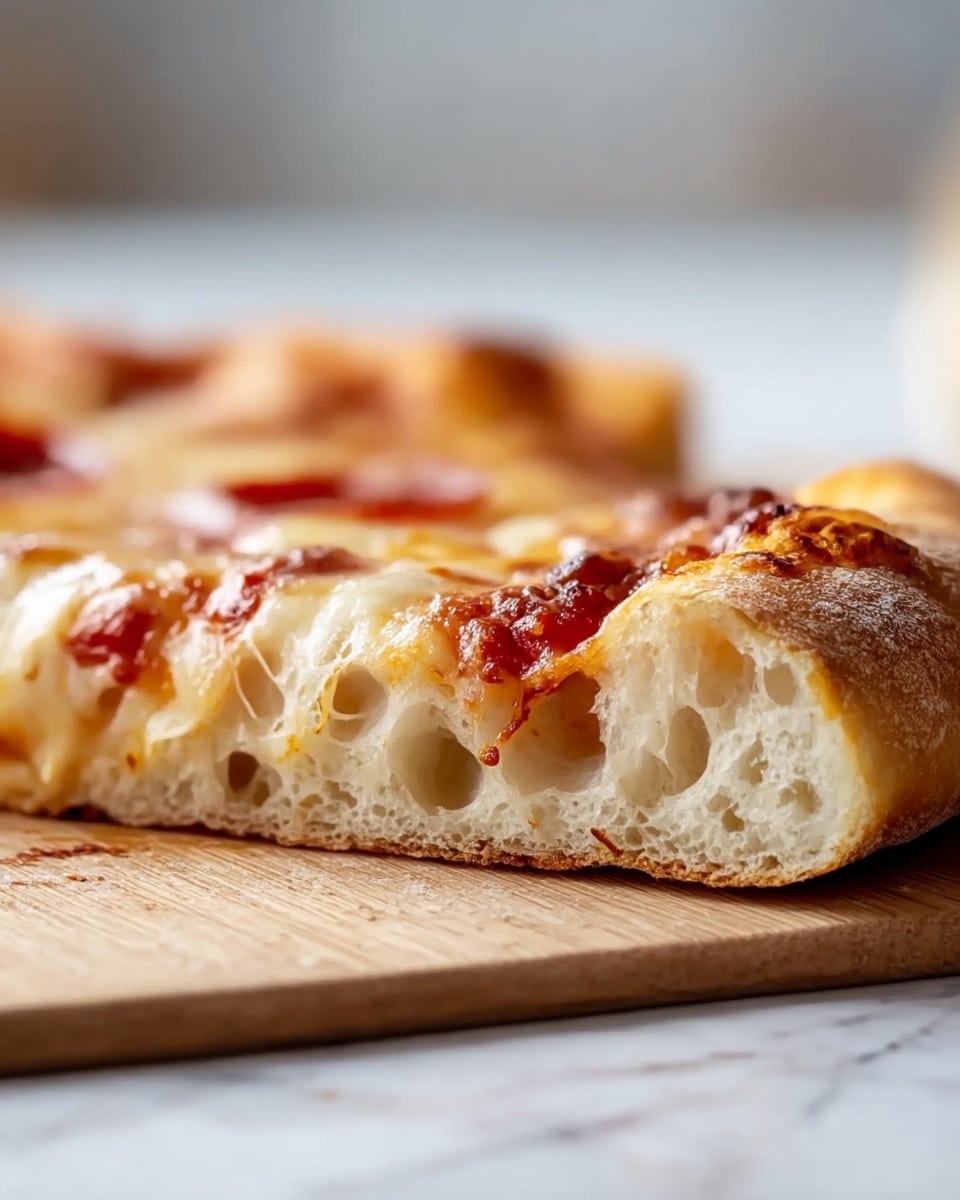
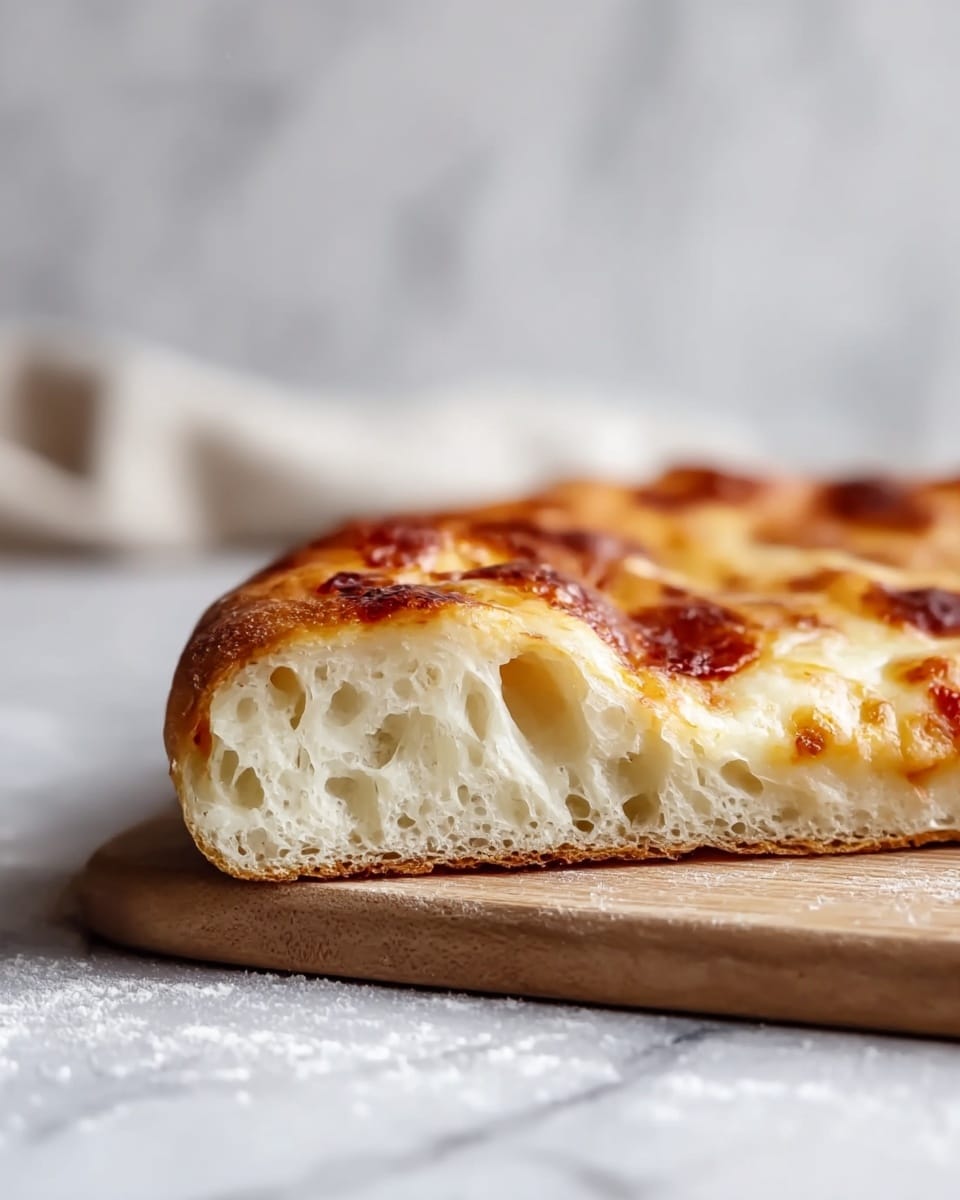
Making artisan pizza dough at home is easier than you think and yields a wonderfully crispy, chewy crust. This recipe uses simple ingredients and a slow fermentation process to develop deep flavor. Get ready to impress with your fresh, homemade pizza base.
Ingredients
- 3 ¾ cups plus 2 tbsp all-purpose flour (500g)
- 1 ½ cups plus 2 tbsp warm water, divided (375g)
- ¼ tsp active dry yeast (1g)
- 1 ½ tsp fine salt (10g)
Instructions
- Step 1: In a large mixing bowl, combine the flour with all but one tablespoon of the warm water. Stir until just incorporated, then cover and let rest for 20 minutes to allow the flour to absorb the liquid.
- Step 2: Sprinkle the yeast over the remaining one tablespoon of warm water and let it dissolve for a few minutes.
- Step 3: Sprinkle the salt over the rested dough mixture, then pour in the dissolved yeast mixture. Using wet hands, gently fold the dough over itself several times until fully combined. Cover and let rest for about one hour.
- Step 4: With lightly wet hands, lift a section of the dough, stretch it upward, and fold it over the center. Rotate the bowl and repeat this folding process four to five times to build dough strength. Cover and ferment at room temperature for five to six hours, or refrigerate up to two days for more flavor.
- Step 5: Transfer the dough to a floured surface and divide into two equal portions. Shape each into a round ball by folding edges inward. Cover and let rest at room temperature for one hour before baking.
- Step 6: Preheat your oven to 500°F (or its highest temperature) with a baking steel, pizza stone, or inverted baking sheet inside. Allow it to heat for at least 45 minutes to ensure a crispy crust.
- Step 7: Flatten one dough ball into a 12-inch circle, leaving a thick edge for the crust. Place it on a floured pizza peel, add your sauce and toppings, then slide it onto the hot baking surface. Bake for about five minutes, then broil for two to four minutes until the cheese is bubbly and the crust is golden and blistered. Repeat with the second dough ball.
Tips & Variations
- The dough will be sticky because of its high hydration; wetting your hands or using a little olive oil helps when handling it.
- If refrigerated, let the dough sit at room temperature for about 30 minutes before shaping to make it easier to work with.
- For an extra crispy crust, allow the baked pizza to rest for a few minutes before slicing.
Storage
Store leftover dough in the refrigerator for up to two days or freeze it for up to three months. When ready to use, thaw frozen dough overnight in the refrigerator and bring it to room temperature before shaping. Baked pizza is best enjoyed fresh, but you can reheat slices in a hot oven or skillet to retain crispiness.
How to Serve
Serve this delicious recipe with your favorite sides.
FAQs
Why is the dough sticky?
The dough has a high hydration level, which makes it sticky by nature. Using wet hands or a little olive oil when handling helps prevent sticking without adding extra flour, which can make the crust tough.
Can I skip the long fermentation?
While you can bake the dough after the initial hour rest, the long fermentation develops flavor and improves texture. Skipping it results in a less flavorful, less chewy crust.
PrintThe Perfect Artisan Pizza Dough Recipe

This perfect artisan pizza dough recipe yields a flavorful, crispy crust with a tender interior. Made with simple ingredients like flour, water, yeast, and salt, the dough undergoes slow fermentation to develop complex flavors and structure. Ideal for homemade pizzas baked on a hot stone or steel, it produces a classic pizzeria-style crust with blistered edges in just a few minutes in a super-hot oven.
- Prep Time: 6 hours 20 minutes
- Cook Time: 10 minutes
- Total Time: 6 hours 30 minutes
- Yield: 2 medium 12-inch pizzas 1x
- Category: Baking
- Method: Baking
- Cuisine: Italian
Ingredients
Dry Ingredients
- 3 ¾ cups plus 2 tbsp all-purpose flour (500g)
- ¼ tsp active dry yeast (1g)
- 1 ½ tsp fine salt (10g)
Wet Ingredients
- 1 ½ cups plus 2 tbsp warm water, divided (375g)
Instructions
- Mix the flour and water: In a large mixing bowl, combine the flour with all but one tablespoon of the warm water, stirring until just incorporated. Cover the bowl and let the mixture rest for 20 minutes to allow the flour to fully absorb the liquid.
- Activate the yeast: Sprinkle the yeast over the remaining tablespoon of warm water and let it dissolve for a few minutes until foamy or bubbly, activating the yeast.
- Combine ingredients and develop the dough: Sprinkle the salt evenly over the rested flour mixture, then pour in the dissolved yeast mixture. Using wet hands, gently fold the dough over itself multiple times until all ingredients are well incorporated and a sticky dough forms. Cover and let the dough rest for about one hour to begin fermentation and gluten development.
- Strengthen the dough: With lightly wet hands, lift a section of the dough, stretch it upwards and fold it over the center. Rotate the bowl slightly and repeat this stretch-and-fold process four to five times to build dough strength and structure. Cover the dough again and let it ferment at room temperature for five to six hours to develop flavor and texture, or refrigerate for up to two days for a deeper flavor profile.
- Divide and shape: Transfer the dough onto a floured surface and divide it into two equal portions. Gently shape each piece into a round ball by folding the edges inward toward the center. Cover the dough balls and let them rest at room temperature for one hour before shaping the pizzas.
- Prepare for baking: Preheat your oven to 500°F (or its highest setting) with a baking steel, pizza stone, or inverted baking sheet placed inside to heat thoroughly. Allow the oven to preheat for at least 45 minutes which ensures a very hot surface for a crispy crust.
- Shape and bake: Flatten one dough ball into a 12-inch round on a floured surface, leaving a thicker edge to form the crust. Transfer it to a floured pizza peel, add your preferred sauce and toppings, then slide it onto the preheated baking surface. Bake for about five minutes, then switch to the broil setting and cook for an additional two to four minutes until the cheese bubbles and the crust is golden brown with characteristic blistering. Repeat the process with the second dough ball.
Notes
- The dough will be sticky due to its high hydration; using wet hands or a bit of olive oil can make handling easier.
- If refrigerating the dough, allow it to come to room temperature for about 30 minutes before shaping to make it more pliable.
- For an extra crispy crust, let the baked pizza rest for a few minutes before slicing to set the cheese and toppings.
- Leftover dough can be stored tightly wrapped in the refrigerator for up to two days or frozen for up to three months for future use.
Keywords: artisan pizza dough, homemade pizza crust, easy pizza dough, slow fermented dough, crispy pizza crust, pizza stone baking