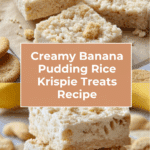
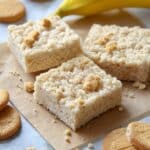
Banana Pudding Rice Krispie Treats Recipe
Introduction
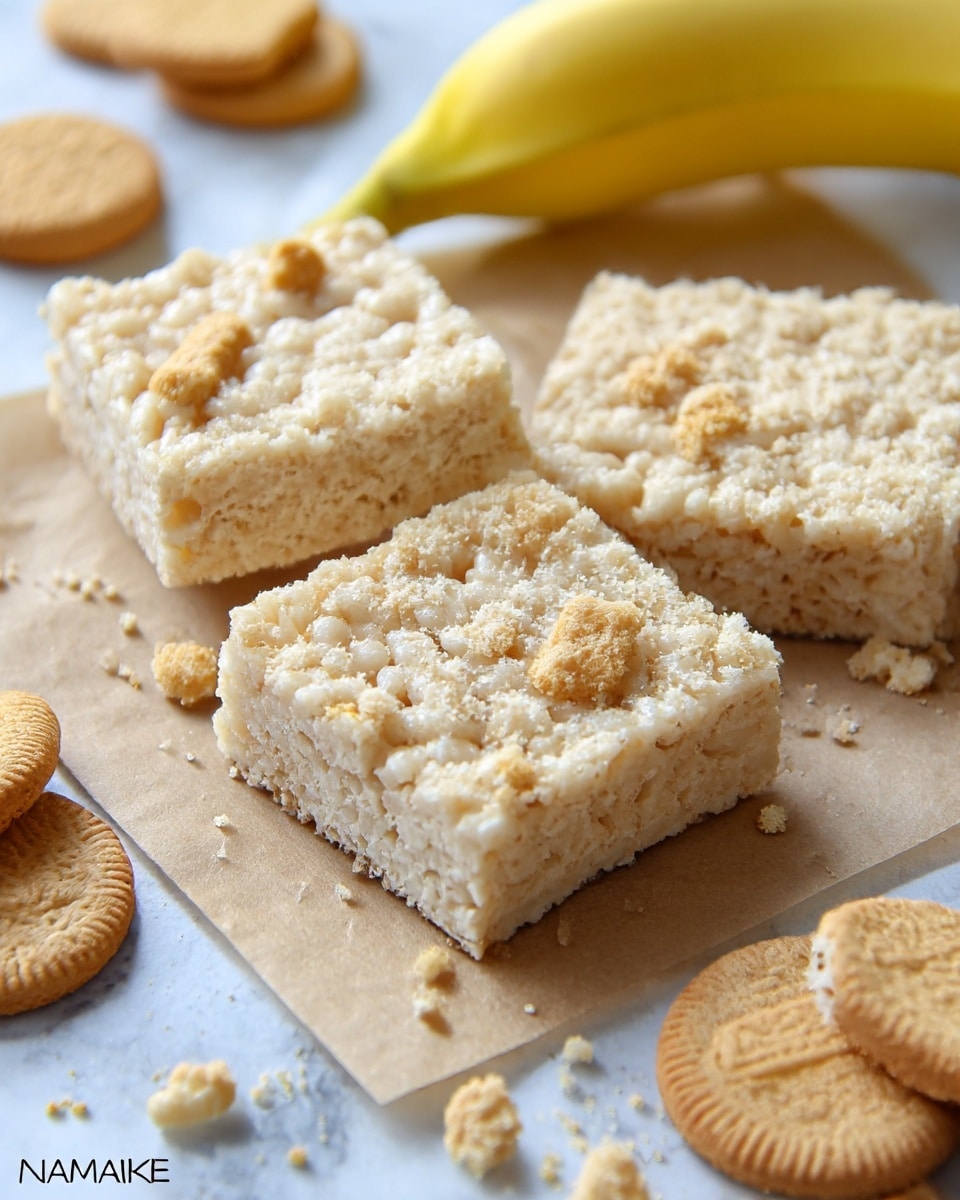
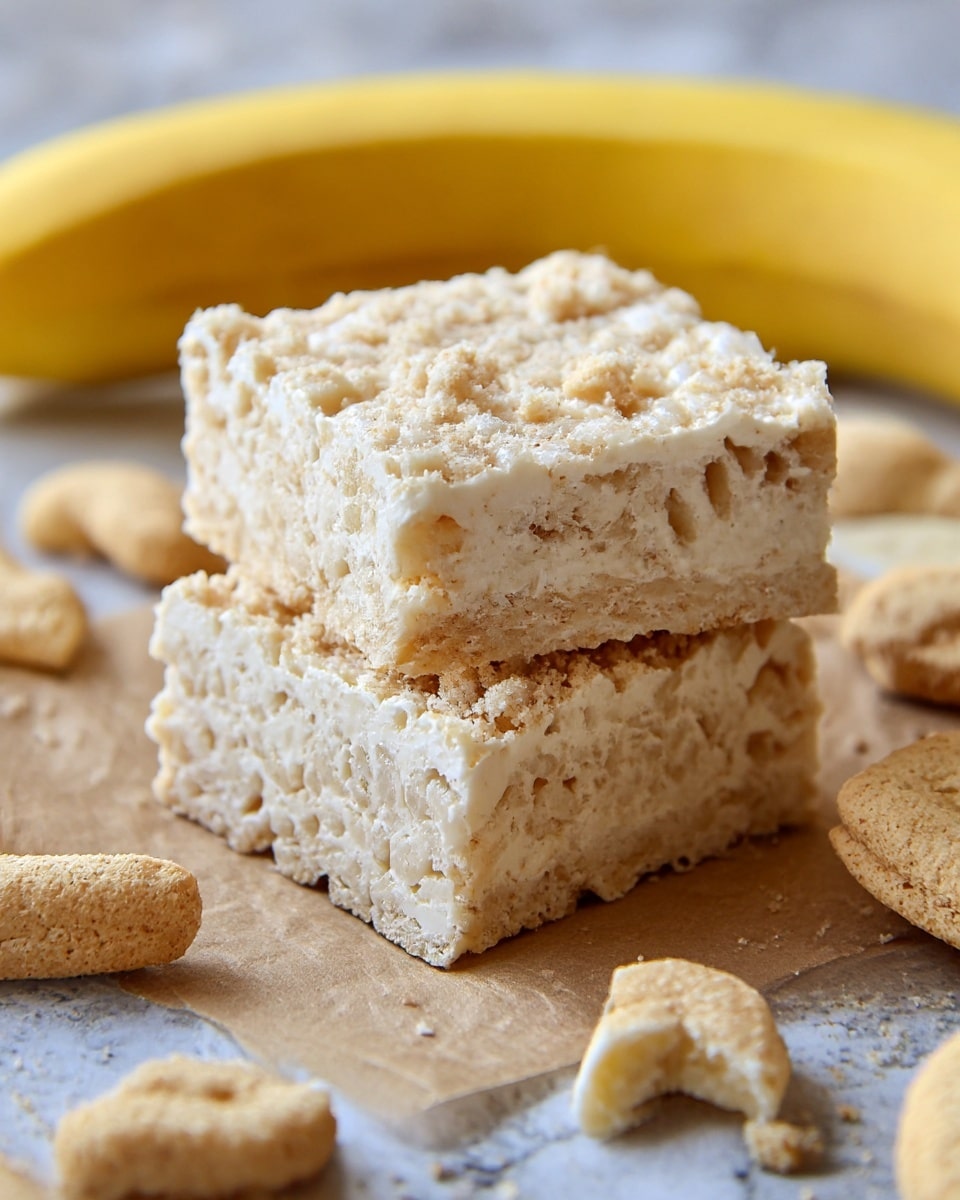
These Banana Pudding Rice Krispie Treats combine the nostalgic crunch of classic Rice Krispies with the creamy, fruity flavor of banana pudding. Easy to make and perfect for parties or anytime you want a fun, sweet snack.
Ingredients
- 3 tbsp Butter, melted
- 1 (10 oz) bag Marshmallows
- 1 (3.4 oz) box Instant Banana Pudding Mix
- 6 cups Rice Krispies Cereal
- Crushed Nilla Wafers, optional
Instructions
- Step 1: Spray a 9 x 13-inch pan with non-stick spray and set aside.
- Step 2: Melt the butter in a large microwave-safe bowl.
- Step 3: Add the marshmallows to the melted butter and stir to combine.
- Step 4: Microwave the marshmallow mixture for 45 seconds, then remove and stir.
- Step 5: Return the bowl to the microwave and heat for another 45 seconds. Remove and stir again until smooth.
- Step 6: Stir the instant banana pudding mix into the melted marshmallow mixture until fully incorporated.
- Step 7: Add the Rice Krispies cereal and stir gently until all the cereal is coated evenly.
- Step 8: Press the mixture firmly and evenly into the prepared pan.
- Step 9: If desired, sprinkle crushed Nilla Wafers over the top for added texture and flavor.
- Step 10: Let the treats cool completely before cutting into squares and serving.
Tips & Variations
- For extra banana flavor, add a few slices of fresh banana between layers or on top just before serving, but add just before eating to prevent sogginess.
- Substitute crispy rice cereal for a gluten-free option if needed.
- Try mixing mini chocolate chips into the treats for a chocolate-banana twist.
- If you want a firmer texture, chill the treats in the refrigerator for 30 minutes before slicing.
Storage
Store the Banana Pudding Rice Krispie Treats in an airtight container at room temperature for up to 3 days. For longer storage, keep them refrigerated for up to a week. If refrigerated, allow the treats to come to room temperature before serving to restore their chewy texture.
How to Serve
Serve this delicious recipe with your favorite sides.
FAQs
Can I use homemade banana pudding instead of instant mix?
Instant banana pudding mix is recommended because it helps the treats set properly and contributes to the signature flavor. Homemade pudding is often too wet and may make the treats too soft or sticky.
Can I freeze these treats?
Yes, you can freeze them. Wrap individual squares tightly in plastic wrap and place them in a freezer-safe container or bag. Thaw at room temperature for about an hour before serving.
PrintBanana Pudding Rice Krispie Treats Recipe
These Banana Pudding Rice Krispie Treats are a delightful twist on the classic Rice Krispie treat, combining the creamy flavor of instant banana pudding with the chewy marshmallows and crunchy cereal for a nostalgic, fruity dessert. Easy to prepare and perfect as a no-bake snack or party treat, they bring a fun banana pudding flavor in every bite.
- Prep Time: 10 minutes
- Cook Time: 2 minutes (microwave melting)
- Total Time: 12 minutes
- Yield: 12 to 16 servings 1x
- Category: Dessert
- Method: No-Cook
- Cuisine: American
Ingredients
Main Ingredients
- 3 tbsp Butter, melted
- 1 (10 oz) bag Marshmallows
- 1 (3.4 oz) box Instant Banana Pudding Mix
- 6 cups Rice Krispies Cereal
- Crushed Nilla Wafers, optional, for topping
Instructions
- Prepare Pan: Spray a 9 x 13 inch baking pan with non-stick cooking spray and set aside to ensure easy removal of the treats once set.
- Melt Butter: In a large microwave-safe bowl, melt the 3 tablespoons of butter until fully liquefied.
- Add Marshmallows: Pour the entire 10-ounce bag of marshmallows into the bowl with the melted butter and stir to coat them evenly.
- Microwave Marshmallows (First Cycle): Place the bowl back in the microwave and heat for 45 seconds, then remove and stir to help the marshmallows start melting and combine with the butter.
- Microwave Marshmallows (Second Cycle): Return the bowl to the microwave and heat for an additional 45 seconds. Remove and stir thoroughly until the mixture is smooth and fully melted.
- Add Banana Pudding Mix: Stir in the 3.4-ounce box of instant banana pudding mix into the melted marshmallow mixture, blending well to distribute the banana flavor evenly.
- Combine with Cereal: Pour in 6 cups of Rice Krispies cereal and stir gently but thoroughly until the cereal is fully coated with the banana pudding marshmallow mixture.
- Press into Pan: Transfer the mixture to the prepared pan and use a spatula or wax paper to press it evenly and firmly into the pan for a compact final treat.
- Add Optional Topping: If desired, sprinkle crushed Nilla Wafers on top for an extra crunchy banana pudding-inspired finish.
- Cool and Set: Allow the treats to cool at room temperature for at least 30 minutes before cutting into squares and serving.
Notes
- You can store these treats in an airtight container at room temperature for up to 3 days to keep them fresh.
- For a gluten-free version, ensure you use gluten-free Rice Krispies and gluten-free alternative wafers or omit the topping.
- Press the mixture firmly into the pan to ensure the treats hold together well when cut.
- Adjust the crushing of the Nilla Wafers based on your texture preference—finer for more even distribution, coarser for crunch.
- These treats are best enjoyed within a day or two for optimal freshness and texture.
Keywords: Banana Pudding, Rice Krispie Treats, No-Bake Dessert, Easy Snack, Marshmallow Treats, Banana Flavor