Chocolate Cake Pops: A Sweet Treat for Any Occasion Recipe
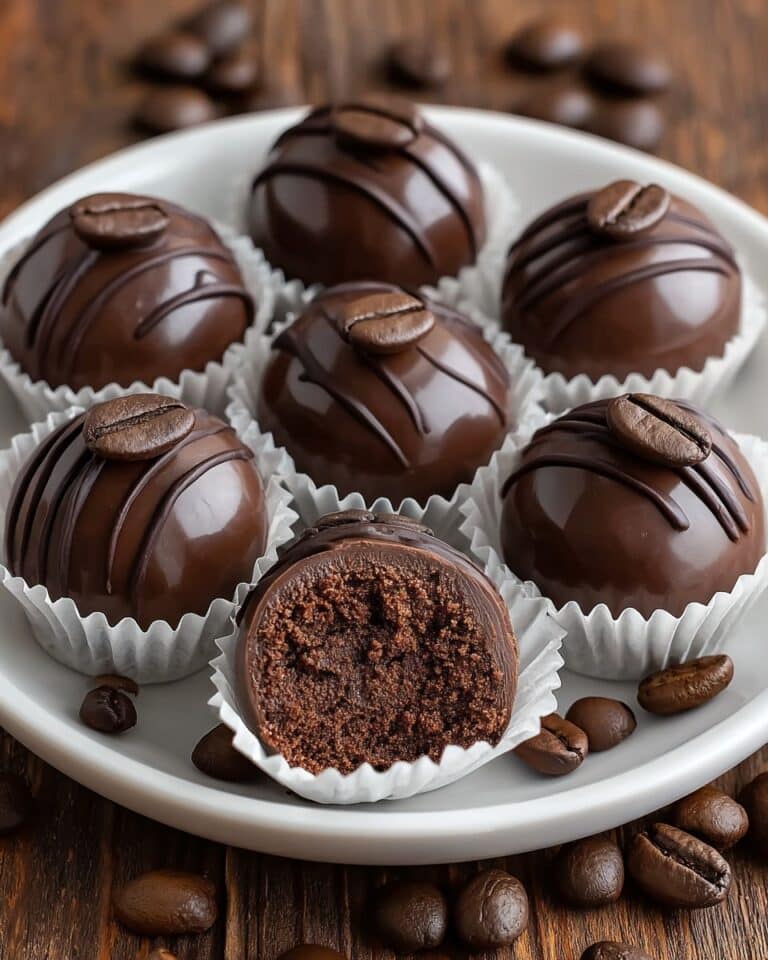
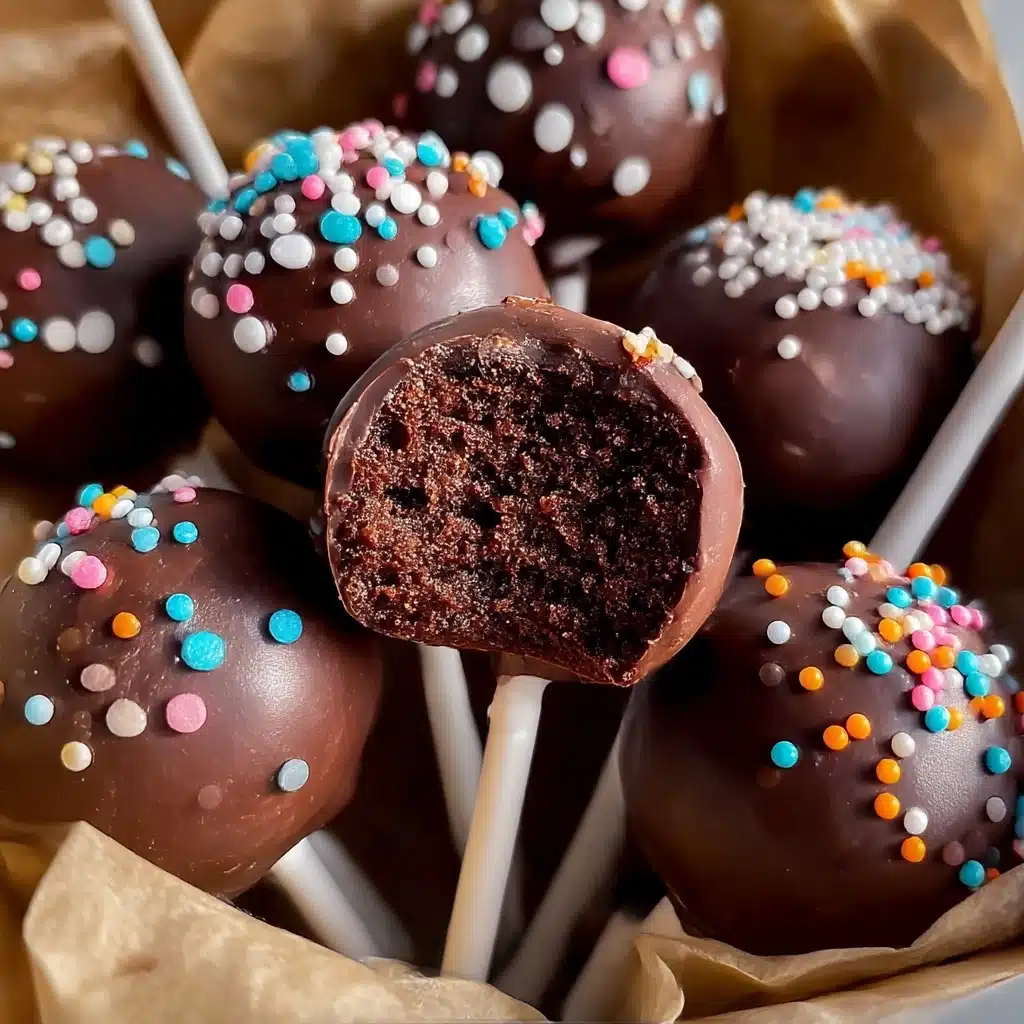
If you’ve ever wanted a dessert that’s as fun to make as it is to eat, look no further than Chocolate Cake Pops: A Sweet Treat for Any Occasion. These bite-sized morsels pack the rich, moist goodness of devil’s food cake combined with luscious chocolate buttercream frosting, all dipped in silky melted chocolate. Whether you’re gearing up for a birthday bash, holiday gathering, or just craving a delightful indulgence, these cake pops bring smiles and bursts of chocolatey joy every single time. They’re easy to customize, fun to decorate, and perfect for sharing with friends and family alike.
Ingredients You’ll Need
To make these irresistible cake pops, the ingredients are straightforward but crystal important, each playing a crucial role in flavor, texture, and appearance. From the rich devil’s food cake to the creamy chocolate buttercream, every component comes together to create that perfect balance that makes these pops so addictive.
- Devil’s food cake mix (1 box, 15.25 ounces): The base for your cake, providing deep chocolate flavor and a moist crumb.
- Water (1 cup): Hydrates the cake mix, helping to create a tender crumb.
- Vegetable oil (1/3 cup): Keeps the cake moist and soft, essential for the perfect cake pop texture.
- Large eggs (3): Bind the ingredients together and contribute to rise and structure.
- Unsalted butter, softened (1 cup or 2 sticks): Creates the smooth, creamy chocolate buttercream frosting.
- Powdered sugar (3 cups): Sweetness and structure for the buttercream without any graininess.
- Unsweetened cocoa powder (1/2 cup): Intensifies the chocolate flavor in the frosting.
- Milk (1/4 cup): Adjusts the consistency of the frosting to creamy perfection.
- Vanilla extract (1 teaspoon): Enhances all the chocolate flavors with a warm, aromatic hint.
- Semi-sweet chocolate, chopped (6 ounces): For dipping the cake pops into a smooth, shiny chocolate coating.
- Assorted sprinkles (optional): Add color, texture, and festive charm to your pops.
- Lollipop sticks: Essential for dipping and presenting your cake pops like professional treats.
- Styrofoam block (optional): Perfect for displaying your pops upright and drying evenly.
How to Make Chocolate Cake Pops: A Sweet Treat for Any Occasion
Step 1: Baking the Devil’s Food Cake
Start by preheating your oven to 350°F. Grease and flour two 9-inch round pans to prevent sticking and promote even cooking. Mix the devil’s food cake mix with water, vegetable oil, and eggs until smooth but don’t overmix, as this keeps your crumb tender. Divide the batter evenly between pans—using a kitchen scale is a neat trick for balance—and bake for around 30-35 minutes until a toothpick comes out clean. After baking, cool the cakes completely on wire racks; this cooling step is crucial, especially for shaping your cake pops later.
Step 2: Whipping Up Chocolate Buttercream Frosting
While the cake cools, make the magical chocolate buttercream that binds everything together. Beat the softened butter until pale and fluffy, which takes a few minutes but makes all the difference in smoothness. Gradually sift in powdered sugar, mixing well after each addition, and then add your unsweetened cocoa powder and milk to get that creamy richness. Finish with vanilla extract for a perfectly rounded flavor that amps up every chocolate note in the cake pops.
Step 3: Crumbling the Cake and Mixing with Frosting
Once your cakes are cool, crumble them by hand into a big bowl—this part is wonderfully tactile and fun! Add about two cups of your homemade chocolate buttercream, starting conservatively since you want a mixture moist enough to hold together but not too sticky. Blend gently by hand until you get a consistency perfect for rolling; it should feel like slightly sticky dough but easy to shape into balls.
Step 4: Forming the Cake Pops
Use a small cookie scoop or your hands to roll the cake mixture into uniform one-inch balls. Place these on a parchment-lined baking sheet and pop them in the freezer for at least 30 minutes. This chilling step is essential to firm up the balls, making the next step—dipping—much easier and less messy.
Step 5: Dipping the Cake Pops in Chocolate
Melt the chopped semi-sweet chocolate gently, either in the microwave in short bursts or over a double boiler, stirring until silky smooth. Insert lollipop sticks halfway into the frozen cake balls, then dip each pop into the melted chocolate to coat completely. Tap off excess chocolate and sprinkle with your choice of toppings before the coating sets. Place them back on parchment and refrigerate for 30 minutes until the chocolate hardens, giving you that satisfying snap when you bite in.
How to Serve Chocolate Cake Pops: A Sweet Treat for Any Occasion
Garnishes
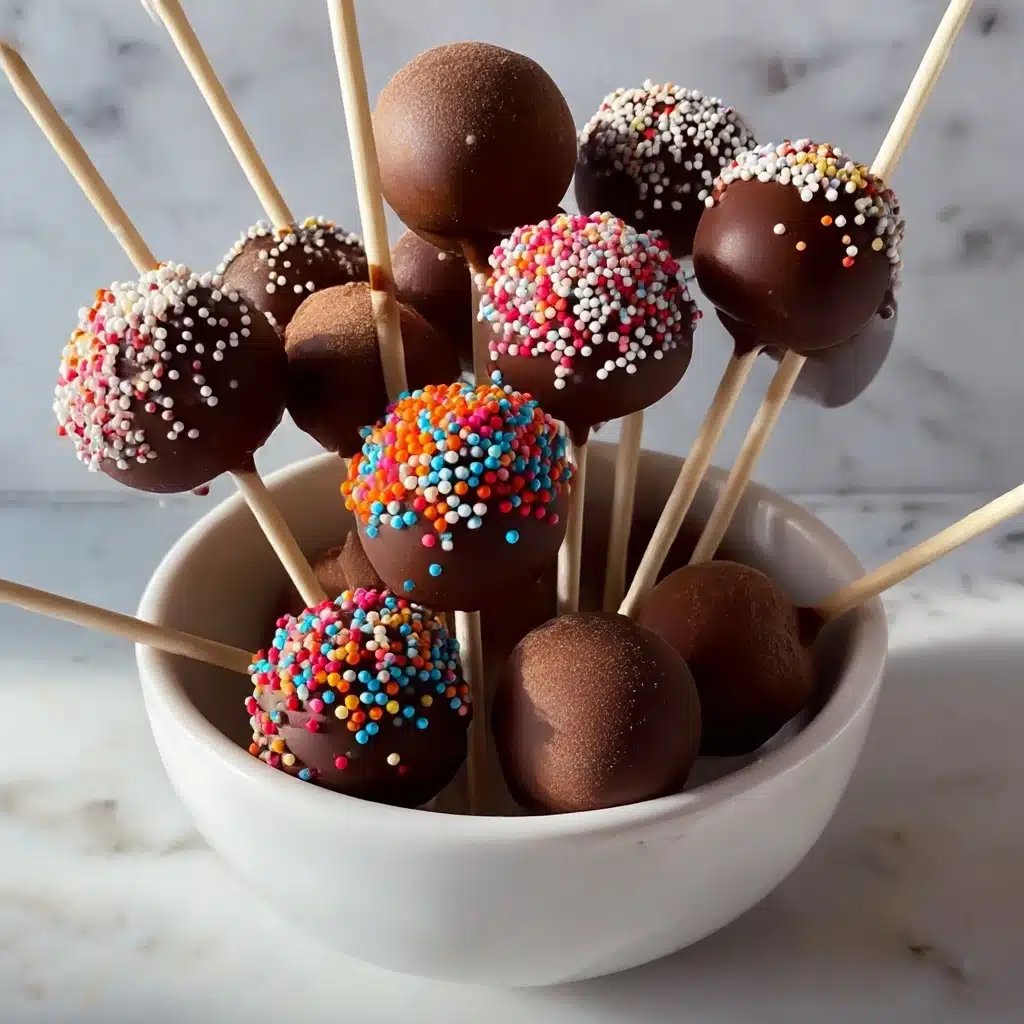
Add excitement and personality to your cake pops by experimenting with garnishes. Sprinkles are a classic choice for adding color and fun texture, but you can also use crushed nuts, edible glitter, or even drizzle contrasting white chocolate. These little touches make your Chocolate Cake Pops: A Sweet Treat for Any Occasion stand out as delightful conversation starters at any event.
Side Dishes
Though cake pops hold their own, pairing them with complementary sides can elevate your dessert spread. Fresh berries or a homemade fruit compote balance the rich chocolate with a refreshing tang, while a scoop of vanilla bean ice cream brings a creamy contrast. They’re also lovely alongside a cup of rich coffee or soothing tea, making a perfect treat for afternoon get-togethers.
Creative Ways to Present
Displaying your cake pops can be almost as fun as making them. A Styrofoam block is practical and allows them to stand upright, but why not try a decorative vase filled with colorful candies or ribbons wrapped around the sticks for a festive touch? You could also arrange them on tiered dessert trays or gift them in clear boxes tied with twine to spread the joy and make every occasion special.
Make Ahead and Storage
Storing Leftovers
If you have leftovers (which is often the case!), store your prepared cake pops in an airtight container in the refrigerator. Keeping them chilled preserves the chocolate coating’s perfect snap and maintains the moist, tender cake inside. They stay fresh for up to three days, giving you plenty of time to enjoy them again.
Freezing
Want to make these ahead for a party? Freeze your cake pops after dipping and setting them in the fridge, placing them in an airtight container or freezer bag to protect against freezer burn. They’ll freeze beautifully for up to one month. When ready to serve, just thaw them in the refrigerator for a few hours to retain their texture and flavor.
Reheating
Reheating cake pops is not necessary and can compromise their texture. Instead, take them out of the fridge to reach room temperature for about 15 minutes before serving, allowing the flavors to fully bloom. If you must warm them lightly, a few seconds in a microwave on low power is enough, but handle with care to avoid melting the chocolate exterior.
FAQs
Can I use a homemade chocolate cake instead of mix for these cake pops?
Absolutely! Homemade cakes give you full control over ingredients and flavors. Just be sure your cake is fully cooled and has a moist crumb to ensure it binds well with the frosting for shaping into pops.
What if I don’t have lollipop sticks?
No worries! You can use sturdy skewers or even toothpicks for smaller bites. Just make sure they’re food-safe and strong enough to hold the weight during dipping and serving.
How do I prevent the chocolate coating from cracking?
Using fresh, high-quality chocolate and melting it gently helps prevent cracking. Also, ensure your cake pops are chilled well before dipping, and once dipped, refrigerate immediately to set the coating smoothly.
Can I make these cake pops dairy-free?
Yes! Substitute the butter with dairy-free margarine or coconut oil, use a dairy-free frosting, and pick a dairy-free chocolate for dipping. The texture and flavor might vary slightly but will still be delicious.
Why do my cake pops fall off the sticks?
This happens if the cake balls are too warm or the chocolate isn’t set properly. Chill the balls thoroughly before inserting sticks, dip quickly in chocolate, and let them set in the fridge. Also, dipping the end of the stick in chocolate before inserting helps the stick adhere better.
Final Thoughts
Making Chocolate Cake Pops: A Sweet Treat for Any Occasion is a joyful experience that combines creativity with pure chocolate bliss. These pops aren’t just desserts—they’re little celebrations on sticks, perfect for brightening any gathering or simply treating yourself with something special. So grab your ingredients, have fun with the process, and share these delightful bites with those you love. Trust me, once you try them, these cake pops will quickly become a beloved favorite in your baking repertoire!
PrintChocolate Cake Pops: A Sweet Treat for Any Occasion Recipe
Delicious and easy-to-make Chocolate Cake Pops that are perfect for any celebration or sweet craving. Moist devil’s food cake is combined with creamy chocolate buttercream, shaped into bite-sized balls, dipped in rich melted chocolate, and decorated with sprinkles for a festive touch. These cake pops are fun to make, visually appealing, and a delightful treat for all ages.
- Prep Time: 25 minutes
- Cook Time: 35 minutes
- Total Time: 1 hour 30 minutes
- Yield: 24 cake pops 1x
- Category: Dessert
- Method: Baking, Mixing, Freezing, Dipping
- Cuisine: American
- Diet: Vegetarian
Ingredients
Cake Ingredients
- 1 box (15.25 ounces) devil’s food cake mix
- 1 cup water
- 1/3 cup vegetable oil
- 3 large eggs
Chocolate Buttercream Frosting
- 1 cup (2 sticks) unsalted butter, softened
- 3 cups powdered sugar
- 1/2 cup unsweetened cocoa powder
- 1/4 cup milk
- 1 teaspoon vanilla extract
Coating and Decoration
- 6 ounces semi-sweet chocolate, chopped
- Assorted sprinkles (optional)
- Lollipop sticks
- Styrofoam block for display (optional)
Instructions
- Preparing the Cake: Preheat your oven to 350°F (175°C). Grease and flour two 9-inch round baking pans using baking spray with flour for an even coating. In a large bowl, combine the devil’s food cake mix, water, oil, and eggs. Beat with an electric mixer on medium speed for about 2 minutes until smooth. Pour the batter evenly into the pans and bake for 30-35 minutes or until a skewer comes out clean. Let cool in pans for 10 minutes, then invert onto wire racks to cool completely.
- Making the Chocolate Buttercream Frosting: Beat softened butter in a large bowl until light and fluffy (3-5 minutes). Gradually add powdered sugar, beating well after each addition and scraping bowl sides. Add cocoa powder and milk, then beat until smooth. If too thick, add milk teaspoon by teaspoon to desired consistency. Stir in vanilla extract for enhanced flavor.
- Crumbling the Cake and Forming the Pops: Once cooled, crumble cakes into a large bowl by hand. Add about 2 cups of the chocolate buttercream frosting, mixing gently until the mixture holds together but is still moist. Roll into 1-inch balls using a cookie scoop for uniform size and place on parchment-lined baking sheet. Freeze for at least 30 minutes to firm up.
- Dipping the Cake Pops in Chocolate: Melt semi-sweet chocolate in 30-second microwave intervals stirring each time until smooth or use a double boiler. Insert lollipop sticks halfway into each frozen cake ball. Dip each ball fully into melted chocolate, tapping off excess chocolate on the bowl edge. Immediately decorate with sprinkles if desired. Place back on parchment and refrigerate for at least 30 minutes until set.
- Displaying Your Cake Pops: Once chocolate is set, insert cake pops into a Styrofoam block or arrange in a decorative vase. Decorate sticks with ribbons or decorative paper if desired. Store in an airtight container in the refrigerator for up to 3 days and serve chilled for best flavor and texture.
Notes
- Use a kitchen scale to evenly divide cake batter between pans for uniform layers.
- Do not overmix cake batter to ensure a tender crumb.
- Adjust frosting amount to get the perfect moist but firm consistency for rolling.
- Freeze cake balls well to prevent them from falling apart during dipping.
- Melt chocolate gently to avoid burning or seizing.
- Work quickly when decorating as the chocolate sets fast.
- Store cake pops refrigerated and consume within 3 days for optimal freshness.
Nutrition
- Serving Size: 1 cake pop (approx. 40g)
- Calories: 190 kcal
- Sugar: 22 g
- Sodium: 90 mg
- Fat: 9 g
- Saturated Fat: 5 g
- Unsaturated Fat: 3 g
- Trans Fat: 0 g
- Carbohydrates: 26 g
- Fiber: 1 g
- Protein: 2 g
- Cholesterol: 30 mg
Keywords: chocolate cake pops, cake pops recipe, devil’s food cake, chocolate buttercream, party treats, dessert pops, easy baking recipe


