Chocolate Peanut Butter Layer Dessert Recipe
Introduction
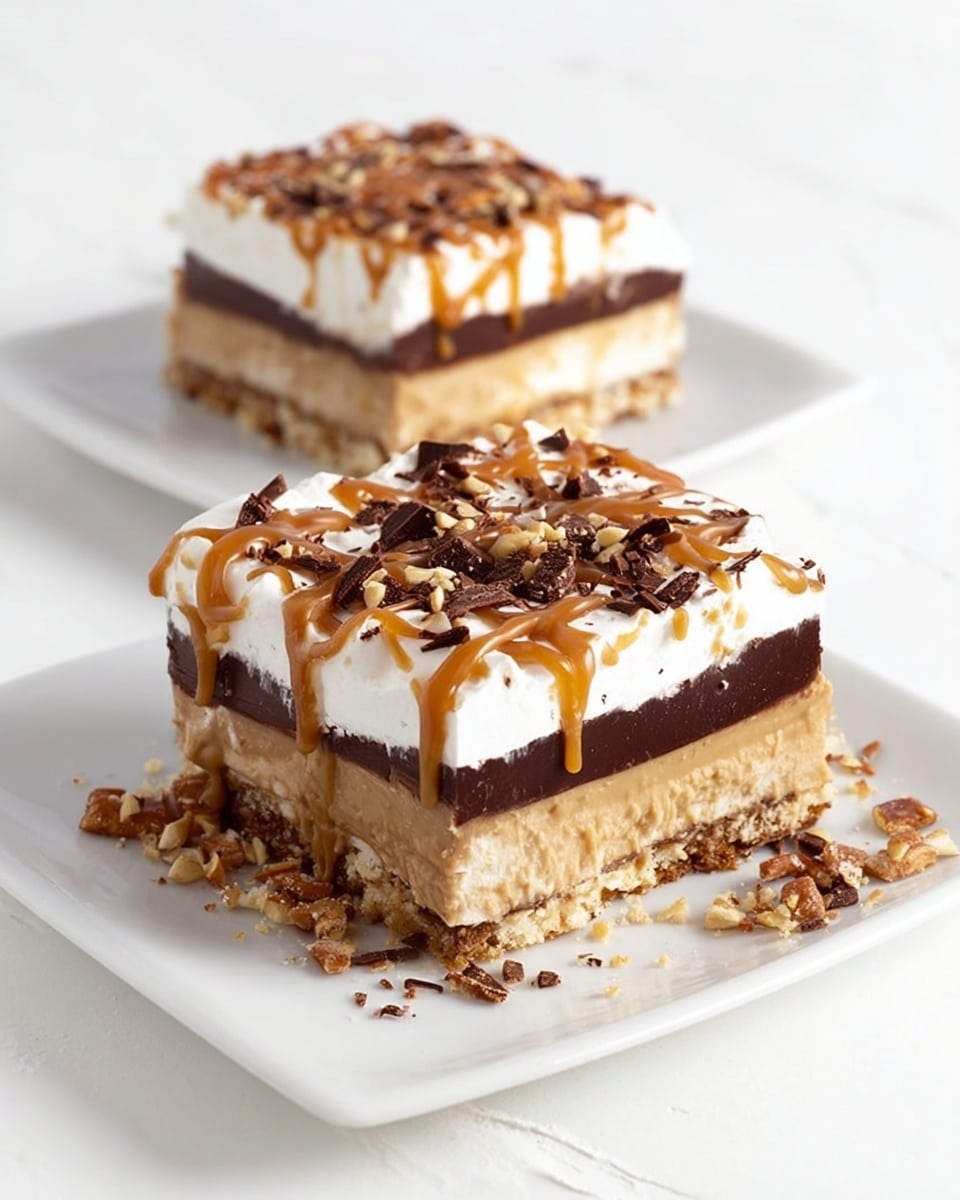
This Chocolate Peanut Butter Layer Dessert is a luscious treat combining salty pretzel crust, creamy peanut butter cheesecake filling, and rich chocolate pudding. It’s a delightful mix of flavors and textures perfect for any occasion.
Ingredients
- 2 1/2 cups crushed pretzels
- 1/4 cup granulated sugar
- 3/4 cup melted butter
- 8 oz. cream cheese, room temperature
- 1 cup creamy peanut butter
- 1 tablespoon butter, room temperature
- 1 cup granulated sugar
- 1 teaspoon vanilla extract
- 1 cup heavy cream, whipped to stiff peaks
- 5.85 oz. instant chocolate pudding mix (family size)
- 2 cups milk
- 8 oz. whipped topping, thawed
- 1 1/2 tablespoons creamy peanut butter
- Hot fudge topping (quantity as desired)
Instructions
- Step 1: Preheat oven to 350°F. In a 9×13-inch pan, combine crushed pretzels, 1/4 cup sugar, and melted butter. Stir until pretzels are fully coated.
- Step 2: Press the pretzel mixture firmly into the pan and bake for 10 minutes. Remove and let cool.
- Step 3: In a medium bowl, beat cream cheese, peanut butter, and butter on medium-high until light and fluffy. Add 1 cup sugar and vanilla, beating until combined.
- Step 4: Fold in a quarter of the whipped cream into the cream cheese mixture to lighten it, then gently fold in the remaining whipped cream. Spread the filling evenly over the cooled crust, sealing edges to prevent sogginess.
- Step 5: Prepare the chocolate pudding by combining pudding mix and 2 cups milk in a bowl. Beat with a hand mixer on medium until well mixed. Let it thicken for about 5 minutes.
- Step 6: Spread the thickened pudding evenly over the peanut butter cheesecake layer, reaching the edges.
- Step 7: Microwave hot fudge topping for 45 seconds, then transfer it to a sandwich bag. Cut a small hole in one corner and drizzle the fudge over the pudding layer in a back-and-forth motion.
- Step 8: Spread the whipped topping over the entire dessert, covering edges completely.
- Step 9: Warm 1 1/2 tablespoons peanut butter in the microwave for about 20 seconds until runny. Place in a sandwich bag, cut a small hole in the corner, and drizzle over the whipped topping in alternating directions.
Tips & Variations
- For extra crunch, add chopped peanuts between the cheesecake and pudding layers.
- Use crunchy peanut butter instead of creamy for added texture.
- Swap the pretzel crust with a graham cracker crust for a milder salty-sweet base.
- Chill the dessert for at least 4 hours for best flavor and easier slicing.
Storage
Store the dessert covered in the refrigerator for up to 3 days. To serve, let it sit at room temperature for 10 minutes. Avoid freezing as the texture of the pudding and whipped layers may change upon thawing.
How to Serve
Serve this delicious recipe with your favorite sides.
FAQs
Can I make this dessert ahead of time?
Yes, this dessert actually benefits from chilling for several hours or overnight to allow the layers to set and flavors to meld.
Can I use homemade pudding instead of instant?
You can, but instant pudding ensures a firm and quick-setting layer that holds well. Homemade pudding may need additional thickening agents to maintain structure.
PrintChocolate Peanut Butter Layer Dessert Recipe

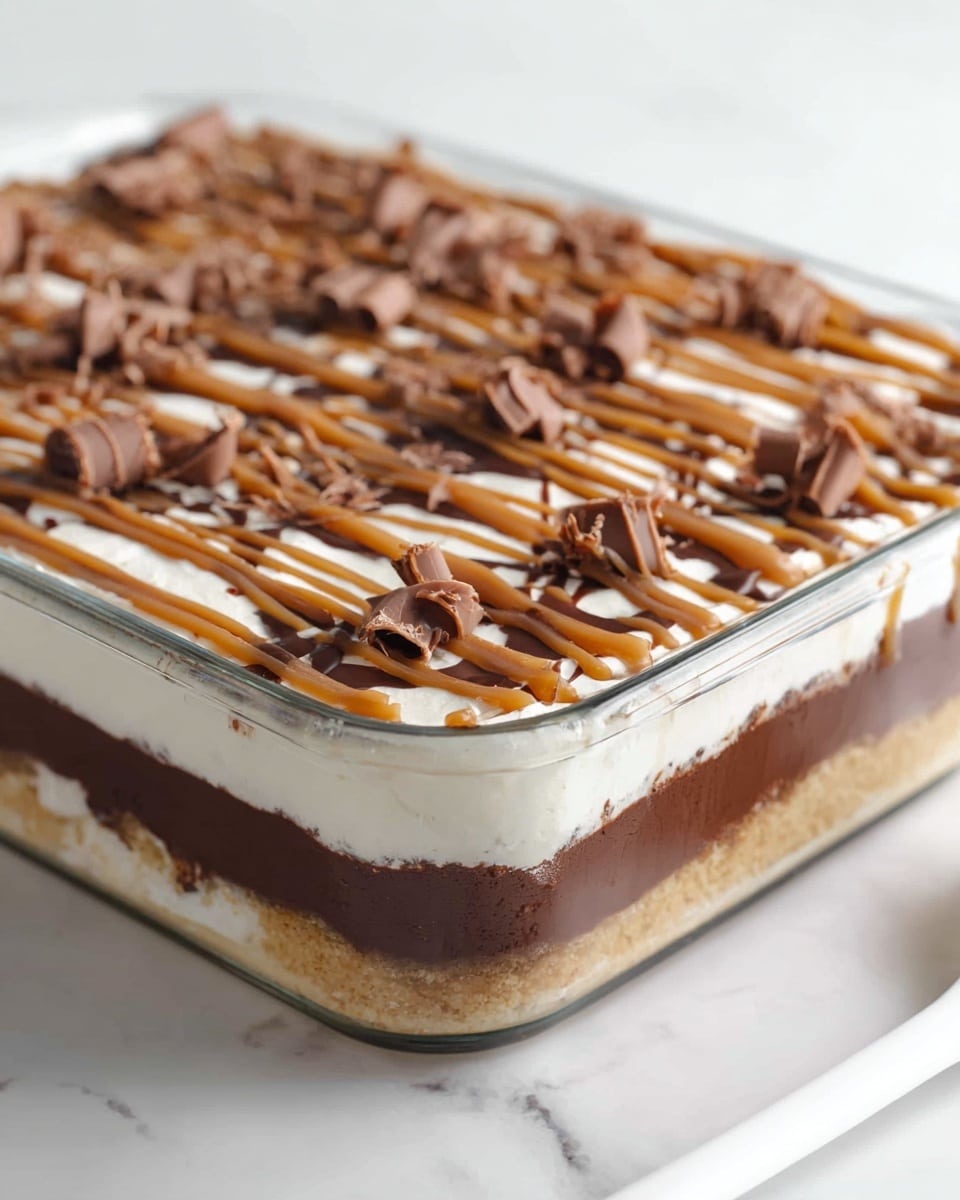
This decadent Chocolate Peanut Butter Layer Dessert features a crunchy pretzel crust topped with a creamy peanut butter cheesecake layer, rich chocolate pudding, and drizzled hot fudge and peanut butter toppings. It combines salty and sweet flavors into a no-bake layered treat that’s perfect for gatherings or indulgent dessert cravings.
- Prep Time: 20 minutes
- Cook Time: 10 minutes
- Total Time: 30 minutes
- Yield: 12 servings 1x
- Category: Dessert
- Method: Baking
- Cuisine: American
Ingredients
Pretzel Crust
- 2 1/2 cups pretzels, crushed
- 1/4 cup granulated sugar
- 3/4 cup butter, melted
Peanut Butter Cheesecake Filling
- 8 oz. cream cheese, room temperature
- 1 cup creamy peanut butter
- 1 tablespoon butter, room temperature
- 1 cup granulated sugar
- 1 tsp vanilla extract
- 1 cup heavy cream, whipped to stiff peaks
Chocolate Pudding Layer
- 5.85 oz. box instant chocolate pudding (family size)
- 2 cups milk
- 11.75 oz. hot fudge topping
- 8 oz. whipped topping, thawed
- 1 1/2 tablespoons creamy peanut butter
Instructions
- Prepare the Crust: Preheat the oven to 350°F (175°C). In a 9×13 inch pan, combine crushed pretzels, granulated sugar, and melted butter. Stir well to coat all pretzels evenly. Firmly press the mixture into the bottom of the pan forming an even layer. Bake for 10 minutes, then remove from oven and allow to cool completely.
- Make the Peanut Butter Cheesecake Filling: In a medium bowl, beat together the cream cheese, peanut butter, and butter on medium-high speed until light and fluffy. Add granulated sugar and vanilla extract, then continue to beat until fully incorporated. Gently fold in one-quarter of the whipped heavy cream to lighten the mixture, then carefully fold in the remaining whipped cream to preserve the airiness. Spread this cheesecake filling evenly over the cooled pretzel crust, making sure to seal edges to prevent sogginess.
- Prepare and Spread Chocolate Pudding: In a mixing bowl, whisk the instant chocolate pudding powder with 2 cups of milk using a hand mixer on medium speed until combined. Allow to thicken for about 5 minutes. Once thickened, spread the pudding evenly over the peanut butter cheesecake layer, covering edge to edge.
- Add Hot Fudge Drizzle: Microwave the hot fudge topping for 45 seconds until warm and pourable. Transfer the fudge to a sandwich bag and cut a small hole at the corner. Drizzle the fudge back and forth across the pudding layer to evenly cover the top.
- Top with Whipped Topping and Peanut Butter Drizzle: Spread the thawed whipped topping evenly over the fudge drizzle, covering all the way to the edges. Microwave the 1 1/2 tablespoons of peanut butter for about 20 seconds until runny, transfer to a sandwich bag, and cut a small hole in the corner. Drizzle the melted peanut butter on top in one direction, then drizzle in the opposite direction to create a crosshatch pattern.
Notes
- Use creamy peanut butter for the smoothest texture in the filling and drizzle.
- Cream the cream cheese and butter thoroughly to avoid lumps in the cheesecake layer.
- Make sure the pretzel crust is completely cooled before adding the cheesecake filling to prevent melting.
- To speed up thickening of the pudding, refrigerate it after mixing for a few minutes before spreading.
- The dessert can be refrigerated overnight to allow flavors to meld and for easier slicing.
- For a nut-free version, replace peanut butter with sunflower seed butter.
Keywords: chocolate peanut butter dessert, layered dessert, pretzel crust dessert, no-bake cheesecake, chocolate pudding dessert