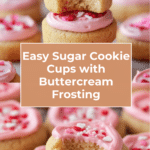
Sugar Cookie Cups with Buttercream Frosting Recipe
Introduction
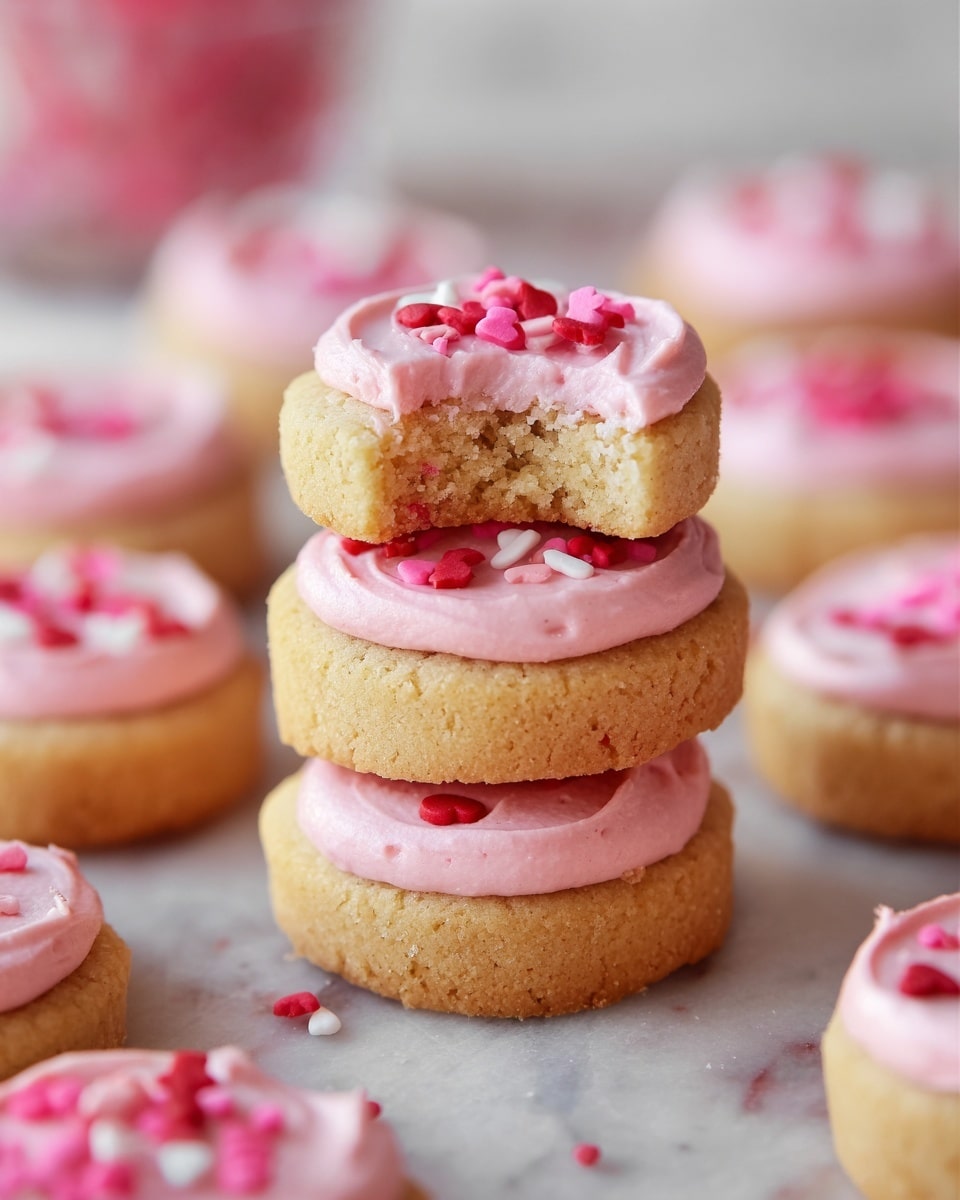
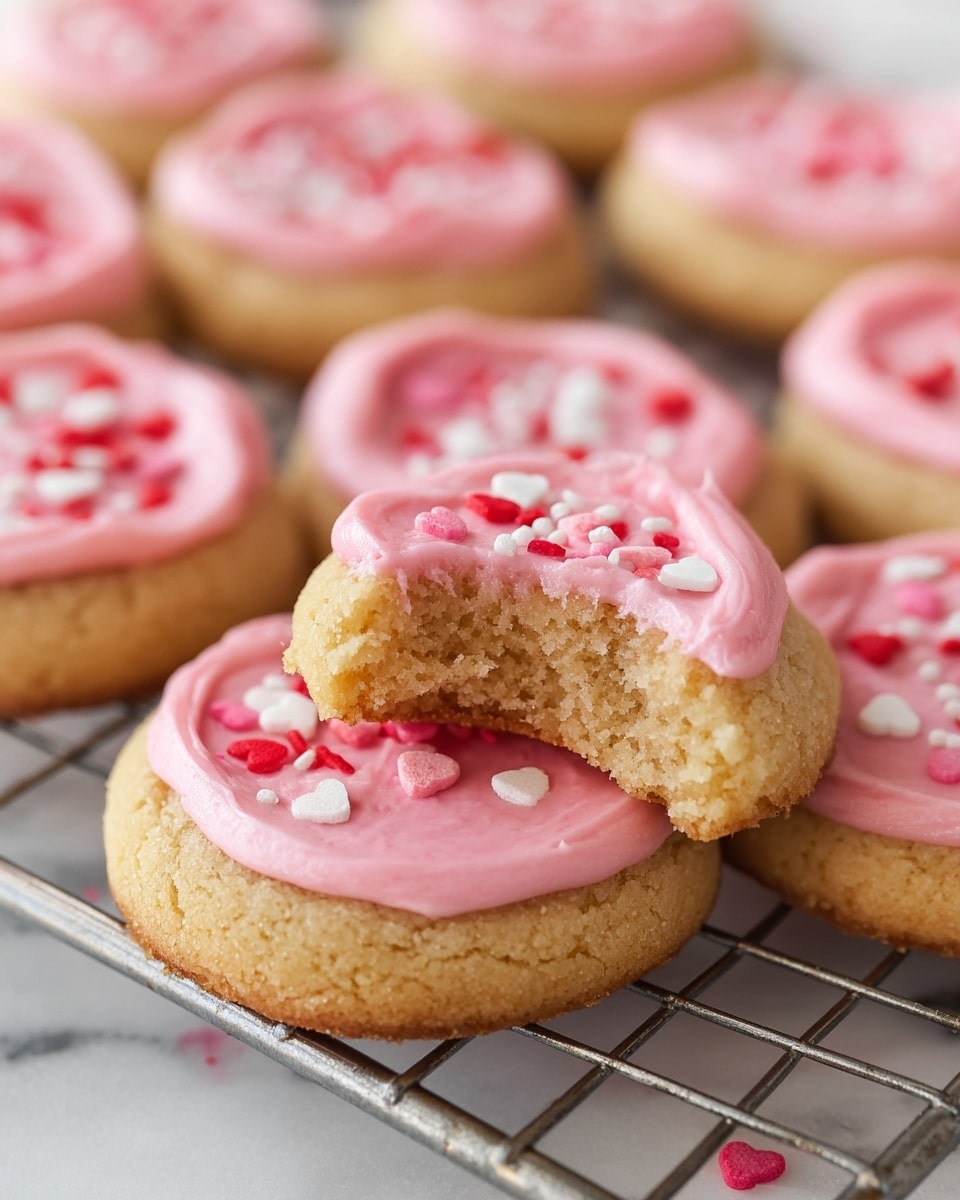
Sugar Cookie Cups are a fun and easy treat that combines the soft sweetness of sugar cookies with a creamy buttercream center. Perfect for parties or a delightful snack, these bite-sized cups are both simple to make and customize.
Ingredients
- For the Sugar Cookie Dough:
- 3/4 cup salted butter, softened
- 3/4 cup sugar
- 1 egg
- 1 teaspoon vanilla extract
- 1/4 teaspoon almond extract (optional)
- 1/2 teaspoon baking powder
- 2 cups flour
- For the Buttercream Frosting:
- 1/4 cup salted butter, softened
- 1 1/3 cups powdered sugar
- 1/2 teaspoon vanilla extract
- 1 tablespoon milk or heavy whipping cream
- Food coloring (optional)
- Sprinkles (optional)
Instructions
- Step 1: Preheat your oven to 350°F and grease 36 mini muffin cups with cooking spray.
- Step 2: In a stand mixer bowl, beat the butter and sugar together until well combined and creamy.
- Step 3: Add the egg, vanilla, and almond extract (if using), mixing until smooth.
- Step 4: Stir in the baking powder and flour until the dough just comes together.
- Step 5: Scoop the dough by rounded tablespoons (about 1 inch in diameter) and roll each into a ball. Place one ball in each muffin cup and flatten with your fingers—no need to shape into a cup yet.
- Step 6: Bake for about 10 minutes, or until the edges turn golden brown.
- Step 7: Once out of the oven, immediately press the center of each cookie with a bottle cap (vanilla extract caps work well) to create a small indentation for the filling.
- Step 8: Let the cookies cool for 5 minutes in the pan, then transfer to a wire rack to cool completely.
- Step 9: For the frosting, beat butter in a clean bowl until smooth. Gradually add powdered sugar and vanilla, mixing well.
- Step 10: Add milk or cream and beat until smooth and fluffy. Adjust with an additional 1/2 to 1 tablespoon of milk if needed. Stir in food coloring if desired.
- Step 11: Spoon the frosting into a piping bag or zip-top bag with a corner snipped off, then fill each cooled cookie cup.
- Step 12: Decorate with sprinkles if you like and serve.
Tips & Variations
- You can use store-bought sugar cookie dough and frosting for an even quicker version—just follow the same baking and assembling steps.
- Try adding citrus zest or a pinch of cinnamon to the dough for a flavor twist.
- If you don’t have a bottle cap for pressing the cookies, use the back of a small spoon or a mini cookie cutter.
- Experiment with different frosting colors or fillings like chocolate ganache or fruit preserves for variety.
Storage
Store the assembled cookie cups in an airtight container in the refrigerator for up to 4 days. Bring them to room temperature before serving for the best flavor and texture. Unfilled cookie cups can be stored at room temperature for up to 2 days or frozen for longer storage before frosting.
How to Serve
Serve this delicious recipe with your favorite sides.
FAQs
Can I make these sugar cookie cups ahead of time?
Yes, you can bake the cookie cups a day or two in advance and store them in an airtight container. Add the frosting just before serving to keep them fresh.
What if I don’t have a piping bag?
Use a resealable plastic bag and snip off a small corner to pipe the frosting. This works just as well for filling the cookie cups.
PrintSugar Cookie Cups with Buttercream Frosting Recipe

Sugar Cookie Cups are delightful mini treats made by baking soft sugar cookie dough in mini muffin tins to form delicate cups, which are then filled with creamy buttercream frosting and topped with colorful sprinkles. Perfect for parties, celebrations, or a fun baking project, these bite-sized cookies combine a classic sugar cookie flavor with a smooth and sweet frosting center.
- Prep Time: 20 minutes
- Cook Time: 10 minutes
- Total Time: 30 minutes
- Yield: 36 mini cookie cups 1x
- Category: Dessert
- Method: Baking
- Cuisine: American
Ingredients
Sugar Cookie Dough
- 3/4 cup salted butter, softened
- 3/4 cup sugar
- 1 egg
- 1 teaspoon vanilla extract
- 1/4 teaspoon almond extract (optional)
- 1/2 teaspoon baking powder
- 2 cups all-purpose flour
Buttercream Frosting
- 1/4 cup salted butter, softened
- 1 1/3 cups powdered sugar
- 1/2 teaspoon vanilla extract
- 1 tablespoon milk or heavy whipping cream
- Food coloring (optional)
- Sprinkles (optional)
Instructions
- Preheat and Prepare: Preheat your oven to 350°F (175°C). Grease 36 mini muffin cups generously with cooking spray to prevent the cookie dough from sticking during baking.
- Make the Sugar Cookie Dough: In the bowl of a stand mixer, beat together the softened butter and sugar until the mixture is light and fluffy. Add the egg, vanilla extract, and almond extract if using, mixing until incorporated. Add the baking powder and flour, stirring until a smooth dough forms.
- Form and Bake Cookies: Scoop the dough by rounded tablespoons (approximately 1 inch in diameter) and roll each into a ball. Place one dough ball into each prepared mini muffin cup and flatten gently with your fingers—there’s no need to shape a cup at this stage. Bake for about 10 minutes or until the edges turn golden brown.
- Shape Cookie Cups: Immediately upon removing from the oven, use the cap of a vanilla extract bottle or a similarly sized object to gently press into the center of each cookie to form a cup shape. Let the cookies cool in the pan for 5 minutes before transferring them to a wire rack to cool completely.
- Prepare Buttercream Frosting: In a clean stand mixer bowl, beat the softened butter until smooth. Gradually add powdered sugar and vanilla extract, mixing to combine. Add milk or heavy whipping cream and continue beating until the frosting is smooth and spreadable. Adjust consistency with an additional 1/2 to 1 tablespoon of milk if necessary. Add food coloring if desired and mix well.
- Assemble the Cookie Cups: Fill a piping bag or a resealable plastic bag with the prepared frosting. Pipe the frosting into each cooled cookie cup carefully to fill the center. Top each frosted cookie cup with sprinkles if desired.
Notes
- You can substitute homemade sugar cookie dough and frosting with store-bought versions; follow the baking and assembly steps accordingly.
- Press the cookie cups gently to avoid breaking the cookies while forming the cup shape.
- Use any food coloring or sprinkles to customize these treats for holidays or themes.
- Store cookie cups in an airtight container at room temperature for up to 3 days or refrigerate for longer freshness.
Keywords: sugar cookie cups, mini sugar cookies, buttercream frosting, cookie cups recipe, bite-sized cookies, party desserts